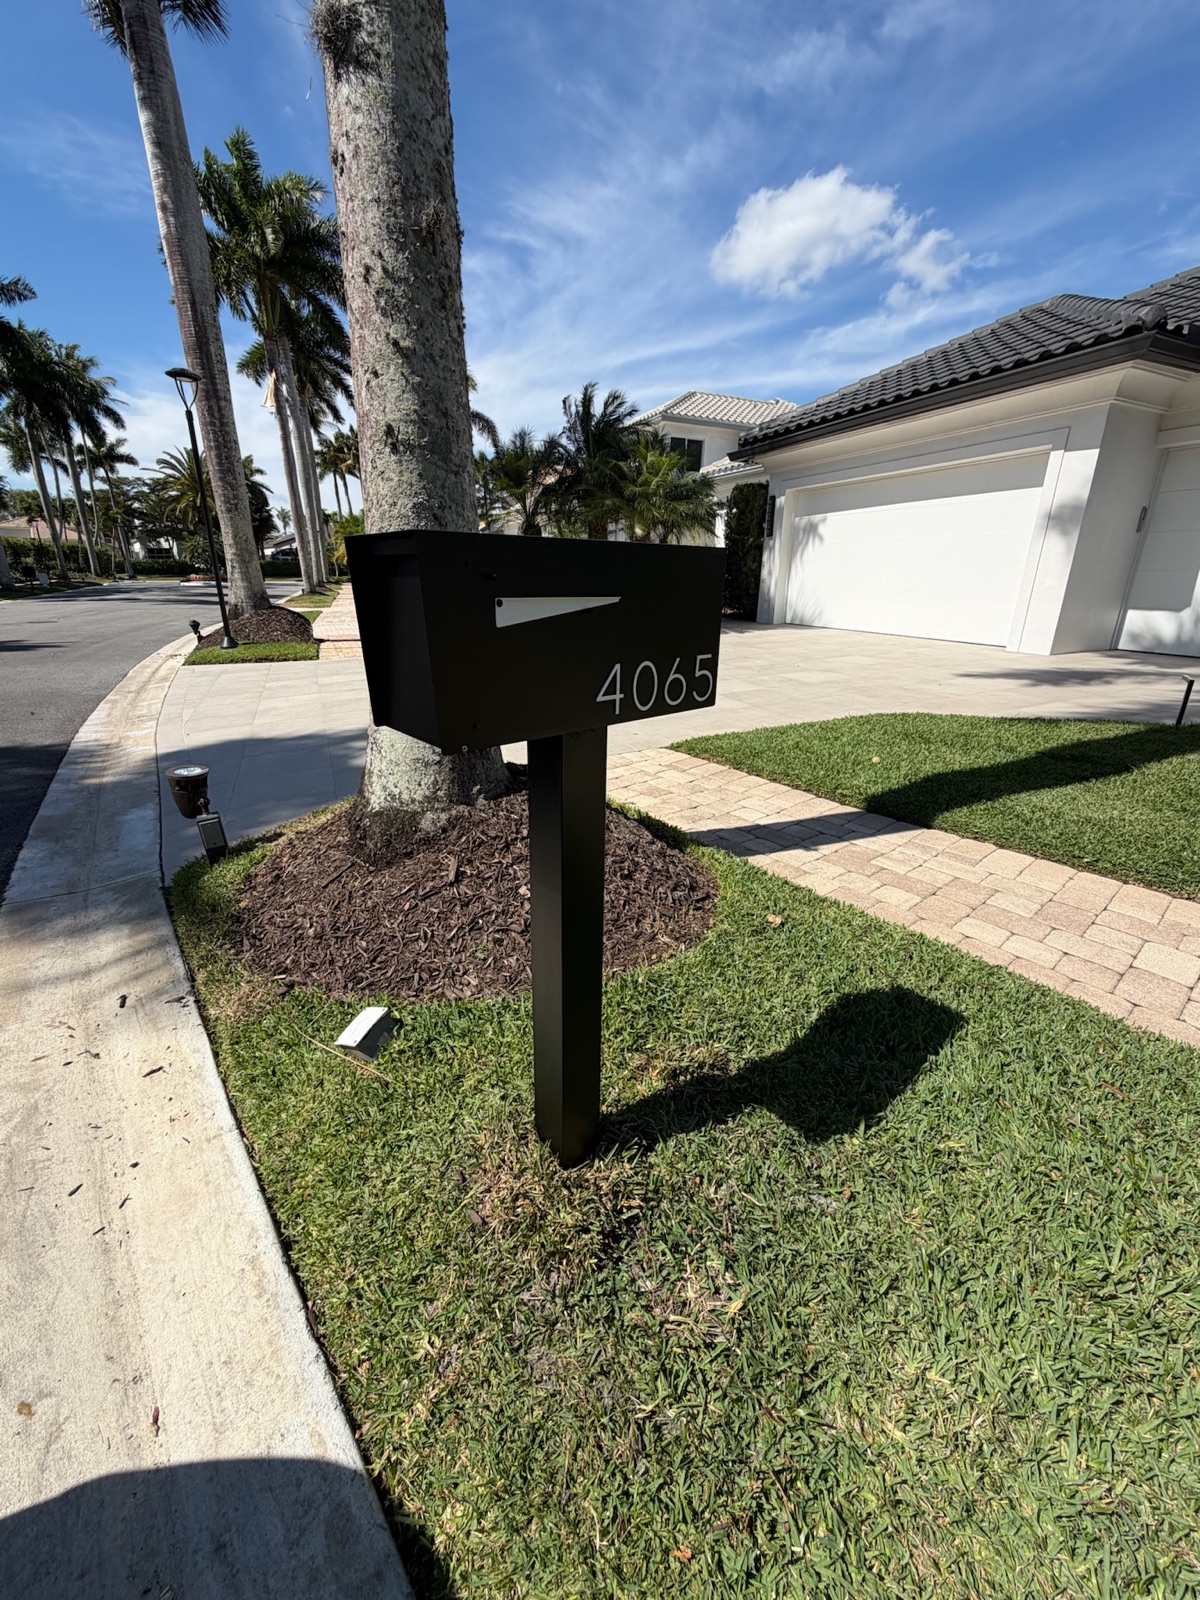
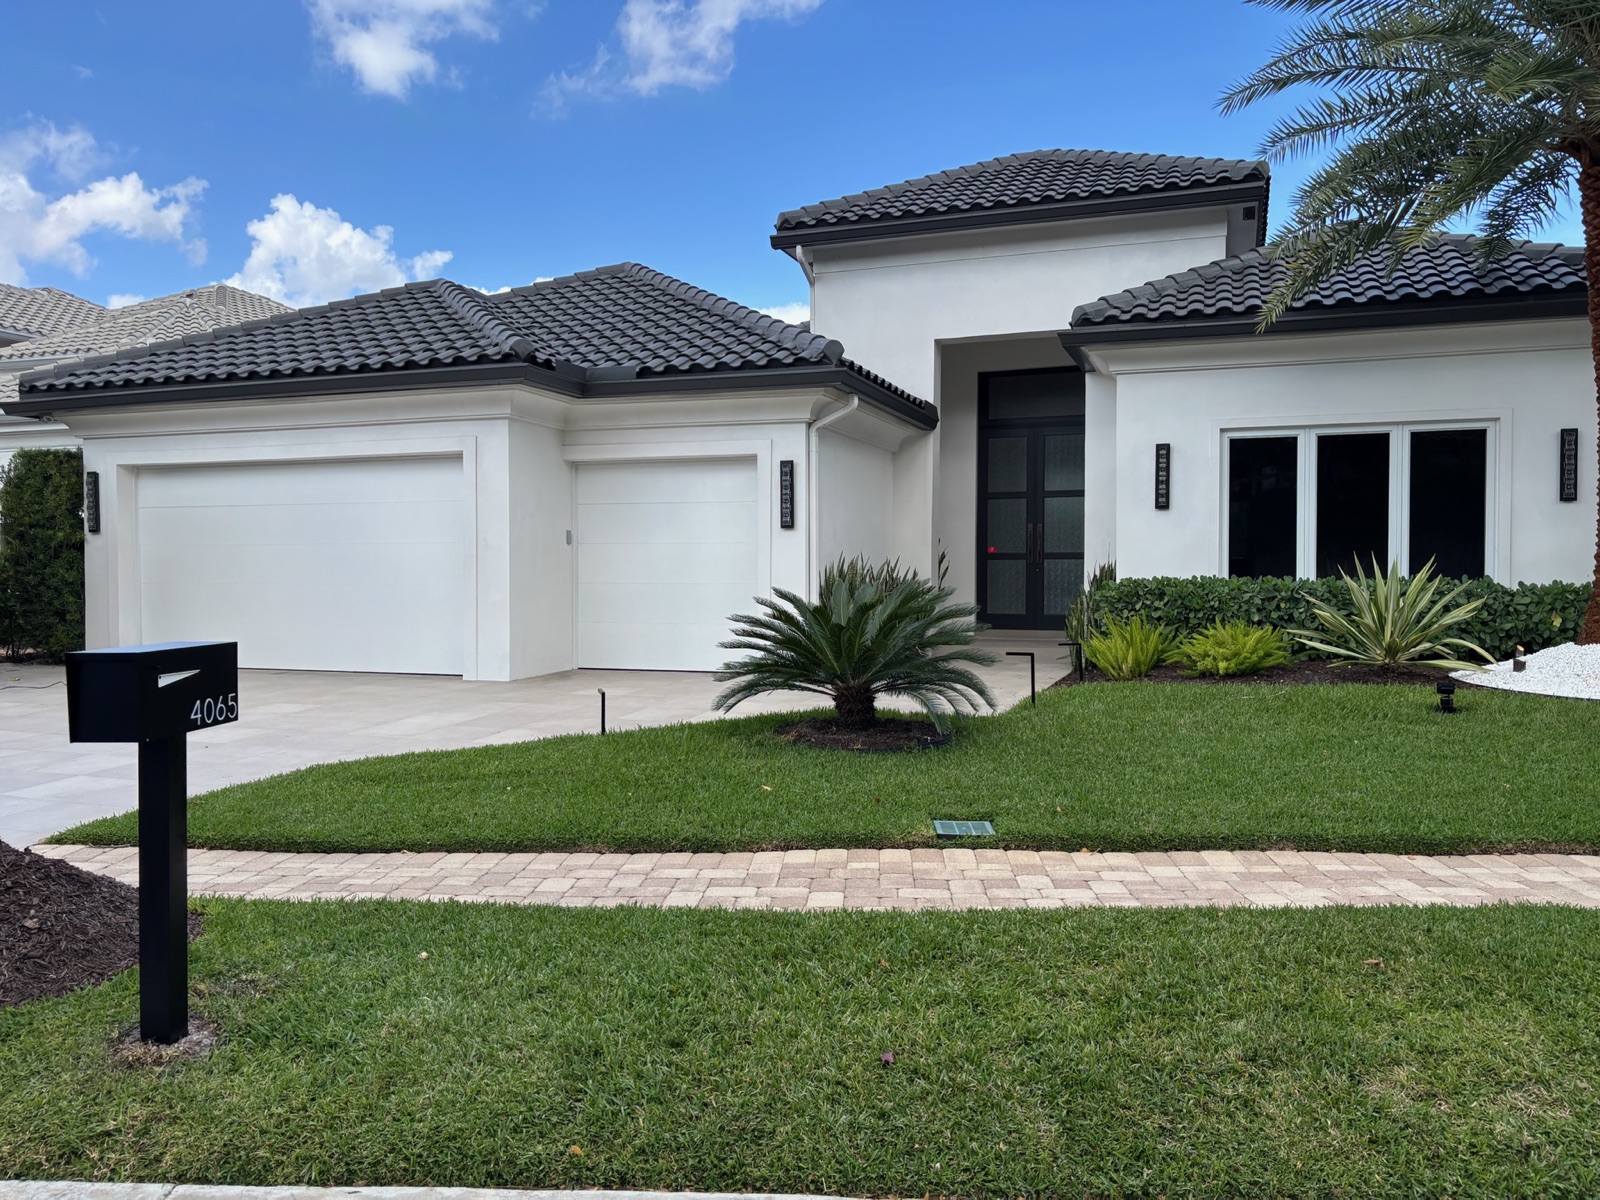
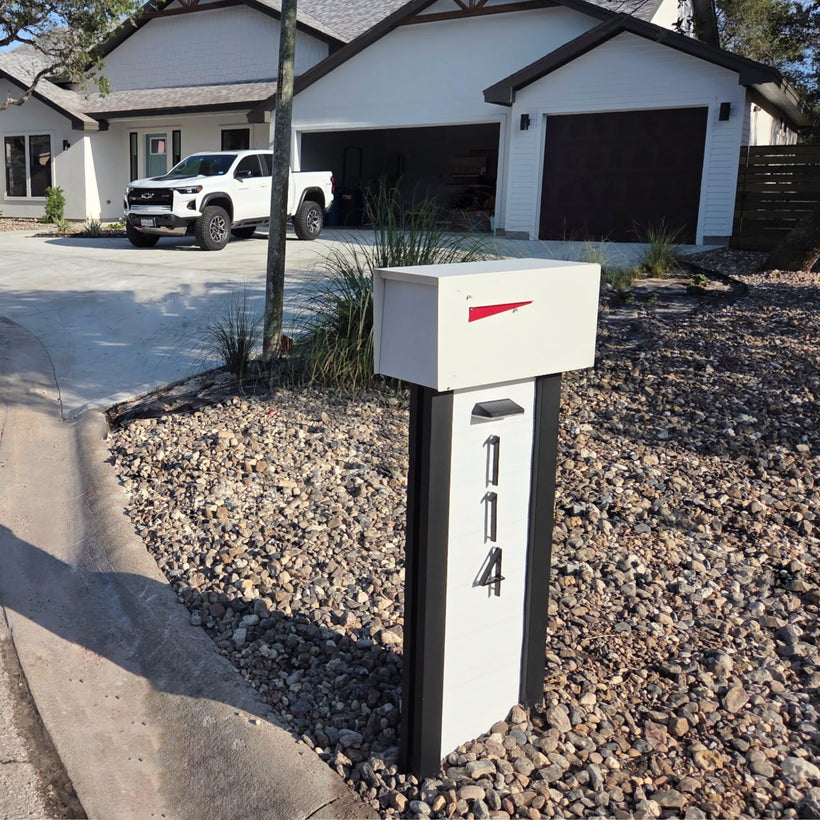
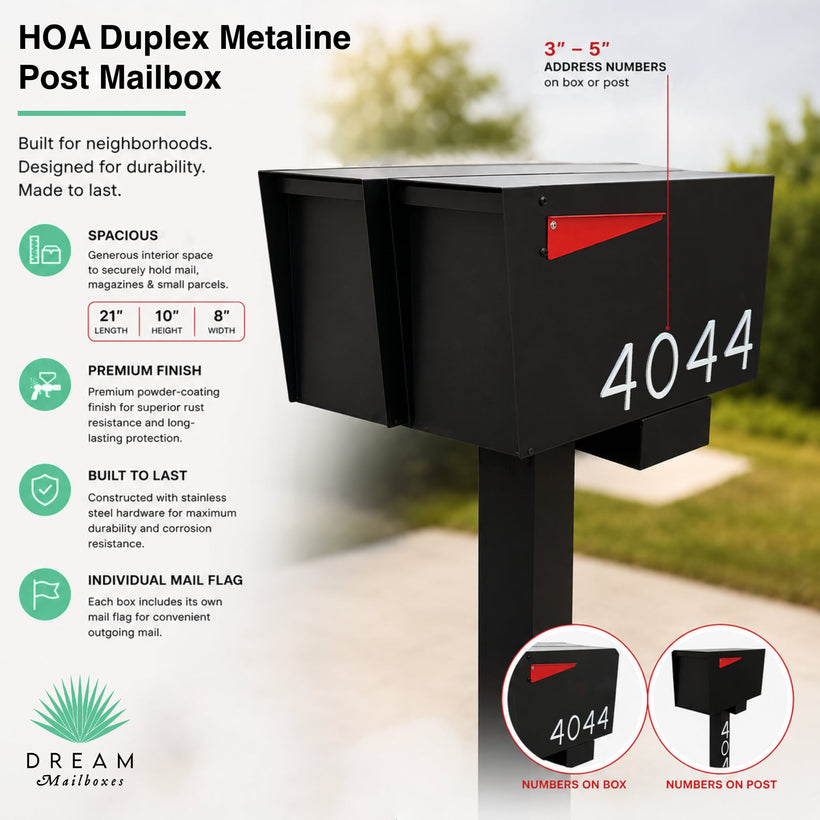
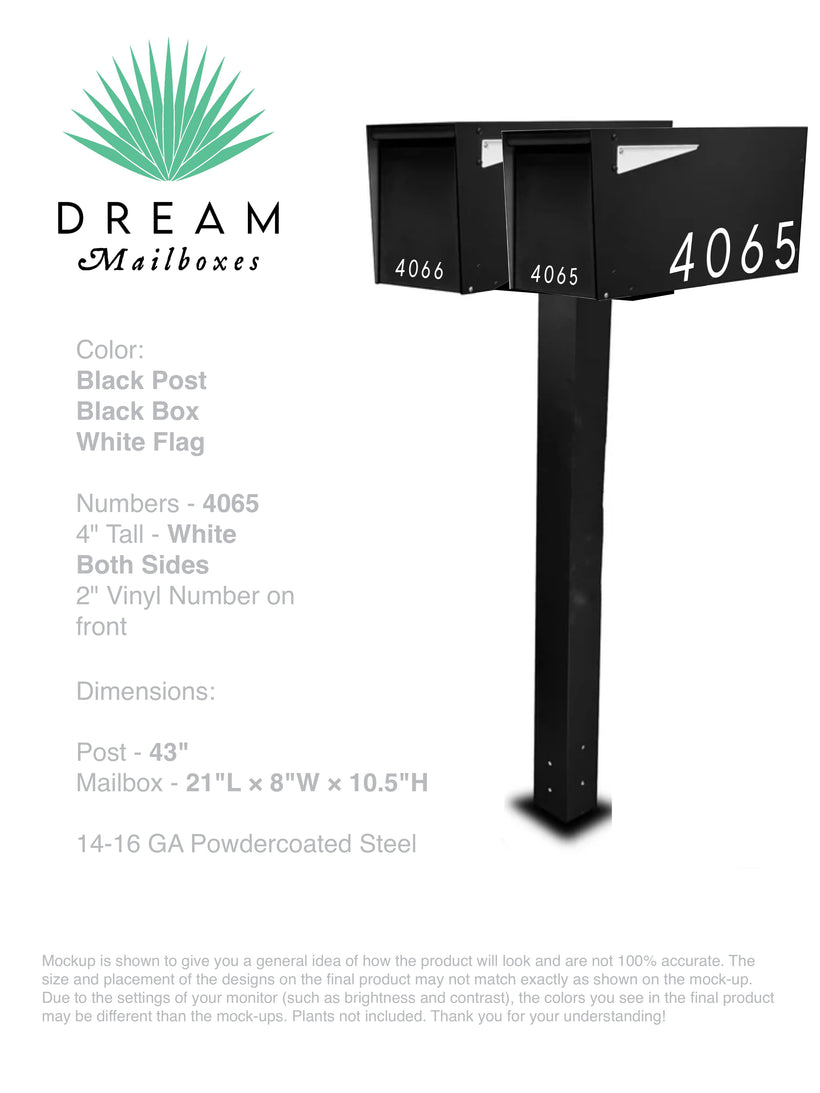
A board cannot approve a number it cannot explain. Here is how a community-wide mailbox budget actually breaks down, which line items get missed, and how to stage the work across fiscal years.
Dream Mailboxes Team8 min readUpdated September 2026
A community mailbox program is two line items repeated across a unit count. The planning is where boards save money.
The short answer
A community mailbox program has two real costs: the unit and the installation, repeated once per home. Dream Mailboxes publishes installation at $499 standard, $699 pillar, and $799 extra-large per unit, and our mailbox line runs from around $499 at entry, through a core range of $899 to $1,499, up to roughly $3,900 for statement pieces. Those are per-unit figures your treasurer can multiply by a door count in a spreadsheet before the meeting, which is more than most vendors will give you. We also replace and reset existing posts on the same visit, ship free nationwide, and provide spec sheets for board and ARC approval. For most communities we recommend phasing by section across two or three fiscal years rather than trying to fund every door in one budget cycle.
If you are reading this, someone has probably already said the words "the mailboxes look terrible" in an open meeting, and someone else has already asked what it would cost to fix. The honest answer is that it depends almost entirely on decisions the board has not made yet. Not on a vendor's whim, and not on a hidden markup. On the unit you pick, the install tier that unit requires, and whether you do the whole community in one swing or walk it across the budget.
This guide is written for the person who has to defend the number. That means no invented averages and no "communities like yours typically spend" figures, because nobody can know that about your community. What follows is the real per-unit pricing, the arithmetic you can run on it, and the cost drivers we see break budgets when boards plan around them late.
What you are actually budgeting for
Strip the project down and there are only two recurring costs, plus a short list of items that live in the margins.
The first is the unit itself. One mailbox per address, in whatever line and finish the board approves. The second is installation, charged per unit by tier. Everything else in the project either folds into one of those two lines or is a decision about timing rather than money. Shipping does not belong on your budget at all: it is free nationwide, so the delivered unit price is the unit price.
That simplicity is useful in a board packet. A reserve request with two multiplied line items and a unit count is something an owner can follow from the podium. A request with a single bundled "mailbox project" figure invites the exact cross-examination that sinks projects at the annual meeting.
Why per-unit pricing matters more than a total
Boards usually ask a vendor for a community total first. It is the wrong first question. A total is only meaningful once the unit and the phasing are settled, and those are board decisions, not vendor decisions. Ask instead for the per-unit unit price, the per-unit install rate, and what the vendor charges to deal with the post that is already in the ground. With those three numbers you can model every scenario yourself, including the ones the vendor would not think to quote.
It also protects you politically. When an owner asks why the project costs what it costs, "the install is $499 a door and we have 140 doors" is an answer. A lump sum is a target.
Unit tier versus installation rate
These two lines move independently, and understanding that is most of the budgeting work.
The unit line
Our line spans a wide range on purpose. Entry units start around $499. The core of the line, where most community specs land because it balances material durability against a repeatable price, runs $899 to $1,499. Statement pieces reach about $3,900, which is real money per door and generally belongs at an entrance monument or a clubhouse rather than on 200 curbs.
What moves a unit between those tiers is material and construction, not decoration. Aluminum, composite, wood, Slate, faux stone and marble pillar, and Metaline steel all behave differently over a decade of weather, mowers, and delivery vehicles. Locking package vaults and LED address lighting add capability and cost. If your community is choosing a standard that has to look identical across 150 homes in year eight, the material conversation is the budget conversation. Our guide to keeping one look across a neighborhood goes deeper on that side of the spec.
One note that matters for a board: every unit is made to order against an approved mockup, with custom colors available and address numbers from 5 to 12 inches. That is how a community standard stays a standard. You are not hoping a catalog SKU is still stocked in the same finish in three years.
The installation line
Installation is flat per unit by tier, not hourly, which is what makes a phased program forecastable.
Standard, $499 per unit: post-mounted units in aluminum, composite, wood, Slate, and Metaline steel.
Pillar, $699 per unit: faux stone and marble pillars, which carry more weight and need a more substantial base.
Extra-large, $799 per unit: oversized units and locking package vaults.
What that rate buys is a real concrete job, not a post tamped into dirt. The post goes roughly two feet into the ground, set in concrete over a 4-inch footer, with the unit placed to USPS height and setback and the base finished with a decorative rock bed. For a community, the footer is the line item that determines whether you are back here in six years. A shallow set feels fine on install day and starts leaning the first season the soil moves, and a hundred leaning posts is the same complaint that started this project.
$499 / $699 / $799Professional installation per unit: standard, pillar, and extra-large. Flat per door, not hourly, so a treasurer can multiply it by a section count and get a defensible figure. For 100 homes on the standard tier, that is 100 × $499, or $49,900 on the install line before the units.
Source: Dream Mailboxes, Professional Installation
Run the same arithmetic on the unit line and the picture finishes itself. A hundred homes on an entry unit at $499 is $49,900 in units; on a core unit at $899 it is $89,900; at $1,499 it is $149,900. Pair each of those with the standard install and you have three legitimate scenarios to put in front of the board, all built from published per-unit numbers rather than a guess. Our breakdown of what professional installation costs covers the install side in more detail if a finance committee wants it.
The line items boards forget
The two main lines are easy. These are the ones that show up after approval and turn a clean budget into a change order conversation.
Removing and resetting the existing posts
Something is already in the ground at every address, and it has to come out. Boards routinely budget the new unit and the new install and leave the old post unfunded, then discover that removal is a separate trade, a separate visit, and a separate invoice.
We replace and reset old posts as part of the work, so the aging post can come out on the same visit the new one goes in. That matters to a budget twice: once because you are not paying a second crew to mobilize, and once because you are not paying for two disruptions to the same street. When you ask other vendors for pricing, ask this question specifically. It is the single most common gap between a quoted number and a final number.
Lead time and scheduling
Lead time is not a cost line, but it controls which fiscal year the cost lands in, which makes it a budgeting problem. Standard units are made to order in about two to three weeks. LED and vault models take longer. Add the time your board needs for the ARC vote, the mockup approval, and owner notice, and a project approved in late spring is realistically a summer installation.
If your fiscal year closes mid-project, decide now whether you are committing funds at order or at installation, and write it into the motion. Boards lose more money to an expenditure that straddles two budgets awkwardly than to any unit upgrade.
Numbers, finishes, and the approved mockup
Custom color and number size are spec decisions with schedule consequences. Every change after mockup approval pushes the build window. On a single home that is a mild annoyance. On a phased community program where section two is supposed to match section one exactly, a late finish change is how you end up with two standards instead of one.
Lock the mockup before the first section is ordered, then keep it on file. Later phases reference the same approved spec, which is also what keeps a future board from quietly drifting the standard.
Replacement stock and the unplanned single unit
A vehicle will take out a mailbox. Budget for it as an operating item rather than a crisis. Because units are built to an approved spec with a one-year warranty, a replacement three years from now is a rebuild of the same drawing, not a scavenger hunt for a discontinued model. Carry a small annual allowance for one-off replacement and install, and the board stops having to call a special meeting over a single damaged unit.
All at once, or phased across fiscal years
This is the decision with the largest effect on your reserve, and it is not purely financial.
Doing the whole community at once gets you perfect consistency on a single day, one mobilization, one notice to owners, and one closed project. It also lands the entire expenditure in one budget, which for most associations means either a reserve draw large enough to require an owner vote or a special assessment nobody wants to campaign for.
Phasing by section spreads the draw across two or three fiscal years while keeping the standard fixed. Section one sets the spec and the mockup; later sections order against the same approved drawing. Owners see visible progress each year, which is politically much easier than asking for one large number and delivering nothing for eight months. The tradeoff is an interim period where two looks coexist on the property, and that needs to be said out loud in the meeting rather than discovered by owners in the spring.
Replacing units one at a time as they fail is the path of least resistance and the most expensive option per door over a decade. Every failure is its own mobilization, every replacement is a separate approval, and the community never actually arrives at a standard. It is worth putting in the table precisely so the board can see why it loses.
All at once, one fiscal year
What we recommendPhased by section
Per home as they fail
Reserve impact
Entire cost in one budget cycle
Split across two or three cycles, forecastable per section
Unpredictable every year
Owner approval needed
Often a large reserve draw or special assessment
Usually fits within planned reserve spending
None, and no standard either
Visual consistency
Complete on day one
Interim mismatch, identical spec at the end
Never achieved
Install efficiency
One mobilization for the whole community
One mobilization per section
A separate trip per door
Old post removal
Handled community-wide in one pass
Replaced and reset section by section
One post at a time, highest cost per door
Spec stability
Single order, no drift
Approved mockup on file, later phases match it
Drifts with every board and every vendor
Owner perception
One disruption, one dramatic result
Visible progress every year
Looks like deferred maintenance, because it is
The long-run cost of buying cheap
Every board eventually hears a version of this: we can get mailboxes for a fraction of that. You can. The question is what the door costs over ten years, not what the box costs this quarter.
The arithmetic is unforgiving. The install rate is the same whether you set a good unit or a thin one. If a budget unit fails in year five, you are not repurchasing the unit, you are repurchasing the unit plus another $499 install plus another round of owner notice and scheduling. Replace a community's units twice in a decade and the cheaper option has cost more than the durable one, with several years of looking bad in between.
This is the one place we will be direct about our own pricing: Dream Mailboxes is a premium custom maker, and our units are not the cheapest line a board will be shown. We are family-founded, everything is built in the USA, and we design, build, and install it ourselves, which is why there is one point of accountability for the whole program instead of a mailbox vendor pointing at an installer. For a community buying a standard it intends to keep, that is the case we make. For a board that genuinely needs the lowest possible first-year number and accepts repeating the project sooner, we are honest that we are not that vendor.
"Boards compare unit prices. The number that actually decides the budget is how many times you pay the install rate at the same address."
Dream Mailboxes install team
The approved mockup and spec sheet are what keep phase three matching phase one. Keep both in the association's records.
What to confirm before you approve the expenditure
Run this list before the motion, not after. Each item is something we have seen delay a funded project.
Exact door count per phase. Not the community total. The count for the section you are funding this year, verified against the plat rather than memory.
Which install tier each unit falls in. Standard, pillar, or extra-large changes the per-door rate by up to $300. A community specifying pillars should be budgeting $699 a door, not $499.
Whether removal of the existing post is included. Get it in writing. We replace and reset old posts; confirm any vendor does before comparing numbers.
A spec sheet in hand for the ARC packet. We provide spec sheets for board and ARC approval, which is usually the difference between a vote this month and a vote next quarter. Our walkthrough on getting a mailbox HOA-approved shows what the packet needs.
USPS placement confirmed for your streets. Curbside units are expected 41 to 45 inches from the road surface, set 6 to 8 inches back from the curb face, per USPS mailbox guidelines. Confirm nothing in your community makes that placement impossible before you order 60 units.
Lead time against your calendar. Two to three weeks standard, longer for LED or vault models. Work backward from the install window you want.
Warranty terms and who honors them. Ours is one year, and because we build and install, there is a single party to call.
The mockup approval step is on the schedule. Made to order means a mockup gets approved before anything is built. Put that review on a board calendar so it does not sit in an inbox for three weeks.
When those eight answers exist, the motion writes itself and the treasurer can answer questions from the floor without guessing. If you want help building the per-phase figures for your actual door count, send us your community size and the sections you plan to fund and we will put the unit and install math on paper with a spec sheet your board can stamp.
Common questions
How much does it cost to replace all the mailboxes in a community?
It is two per-door numbers multiplied by your door count. Installation is $499 standard, $699 pillar, or $799 extra-large per unit, and units run from around $499 at entry, through a $899 to $1,499 core range, up to about $3,900 for statement pieces. For 100 homes on a core unit with a standard install, that is 100 × $899 plus 100 × $499. We will not quote a community average, because the unit tier and the phasing are board decisions that move the total far more than anything we control.
Can the old posts be removed as part of the installation?
Yes. We replace and reset existing posts, so the aging post comes out on the same visit the new one goes in. That avoids a second trade, a second mobilization, and a second disruption to the street. It is the line item boards most often leave out of a budget, so confirm it in writing with any vendor you compare.
Should we replace every mailbox at once or phase it by section?
For most communities, phasing by section is the better fit. It spreads the draw across two or three fiscal years, usually keeps the spend inside planned reserve spending rather than triggering a special assessment, and shows owners visible progress each year. The tradeoff is an interim period where two looks coexist, so say that plainly in the meeting. Replacing units one at a time as they fail is the most expensive path per door, because you pay the install rate separately at every address.
What does the board need in order to approve this?
A door count per phase, the install tier for the specified unit, written confirmation that old post removal is included, and a spec sheet for the ARC packet. We provide spec sheets for board and ARC approval, which is usually what moves a vote from next quarter to this month. Confirm USPS height and setback works on your streets before ordering, and put the mockup approval step on the board calendar.
How long does it take from board approval to installed mailboxes?
Standard units are made to order in about two to three weeks once a mockup is approved, and LED or vault models take longer. Add your own approval and owner notice time on top. Lead time is a budgeting issue as much as a scheduling one, because it determines which fiscal year the expenditure lands in, so decide up front whether funds commit at order or at installation.
Dream Mailboxes Team
Custom & modern mailboxes, built for the curb
We are a family-founded, USA-made custom mailbox maker that designs, builds, and professionally installs nationwide. We work with HOA boards, ARC committees, and property managers on community standards, provide spec sheets for approval, and set the units we build.
Sources & further reading
USPS, Mailbox Guidelines (curbside height of 41 to 45 inches and 6 to 8 inch setback)


 Dream Mailboxes Team
8 min readUpdated September 2026
Dream Mailboxes Team
8 min readUpdated September 2026