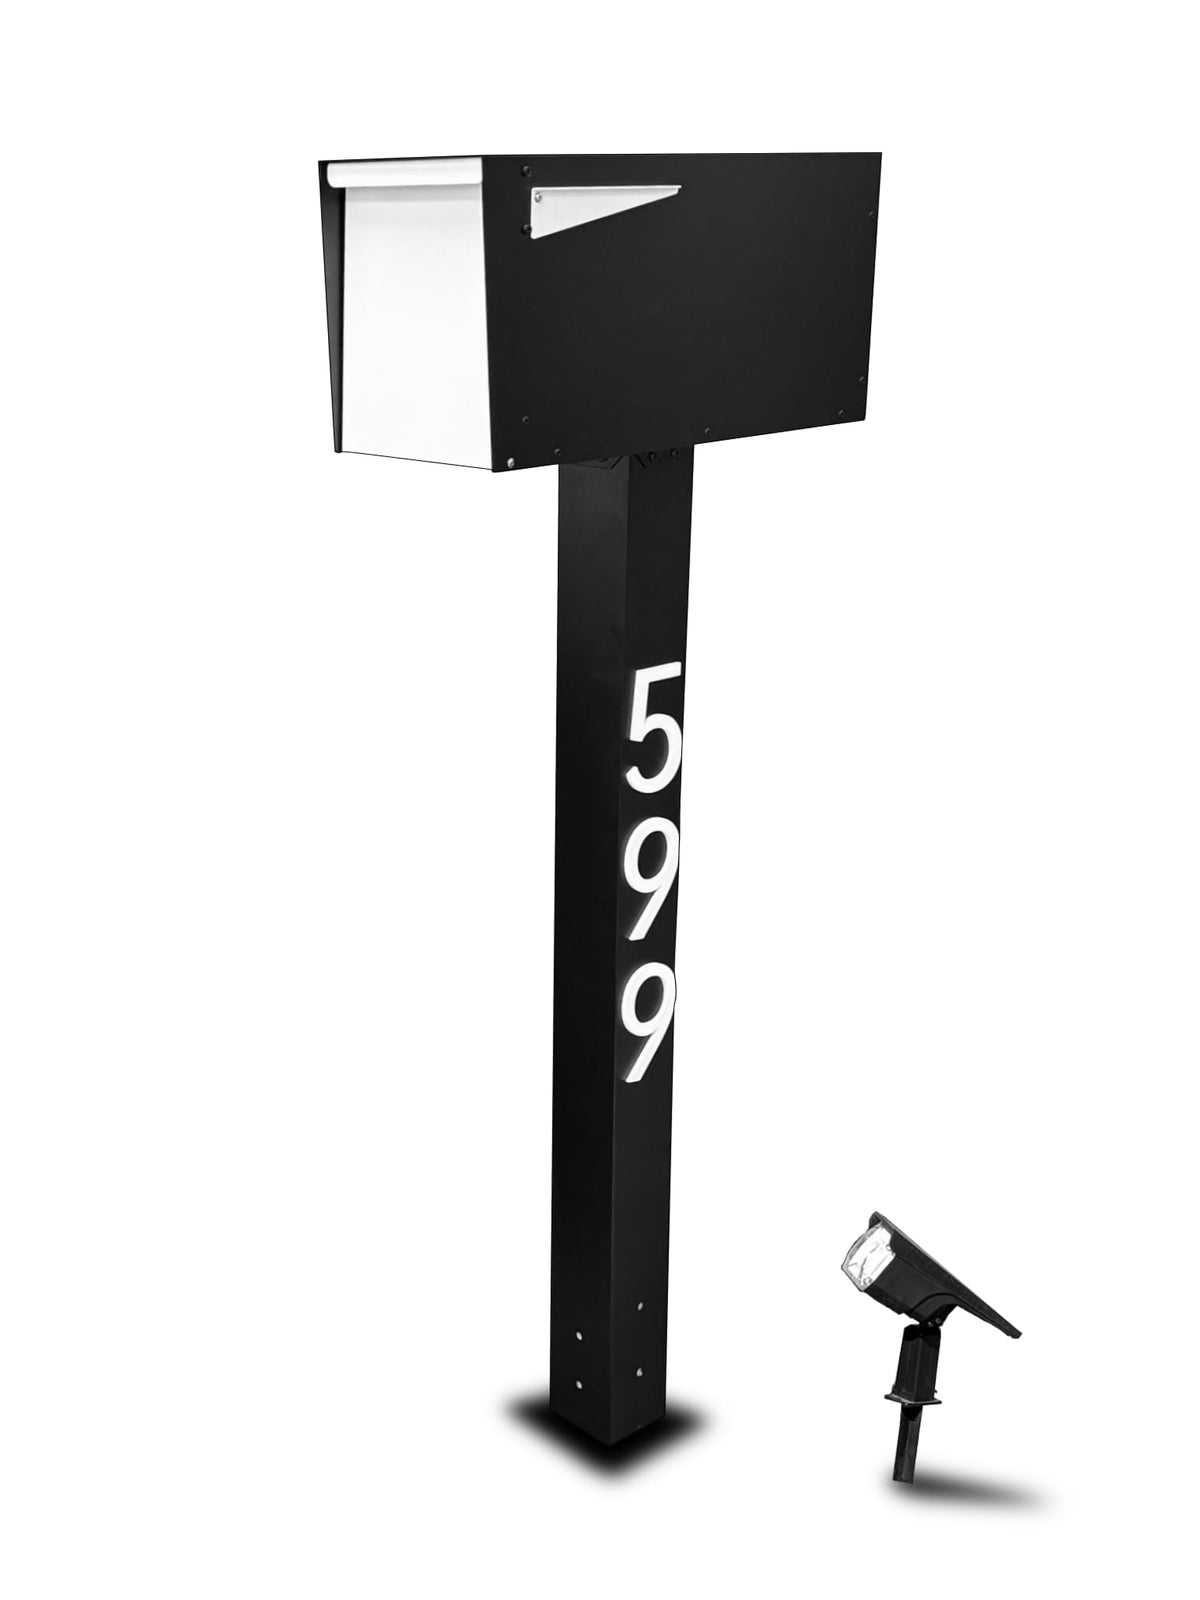
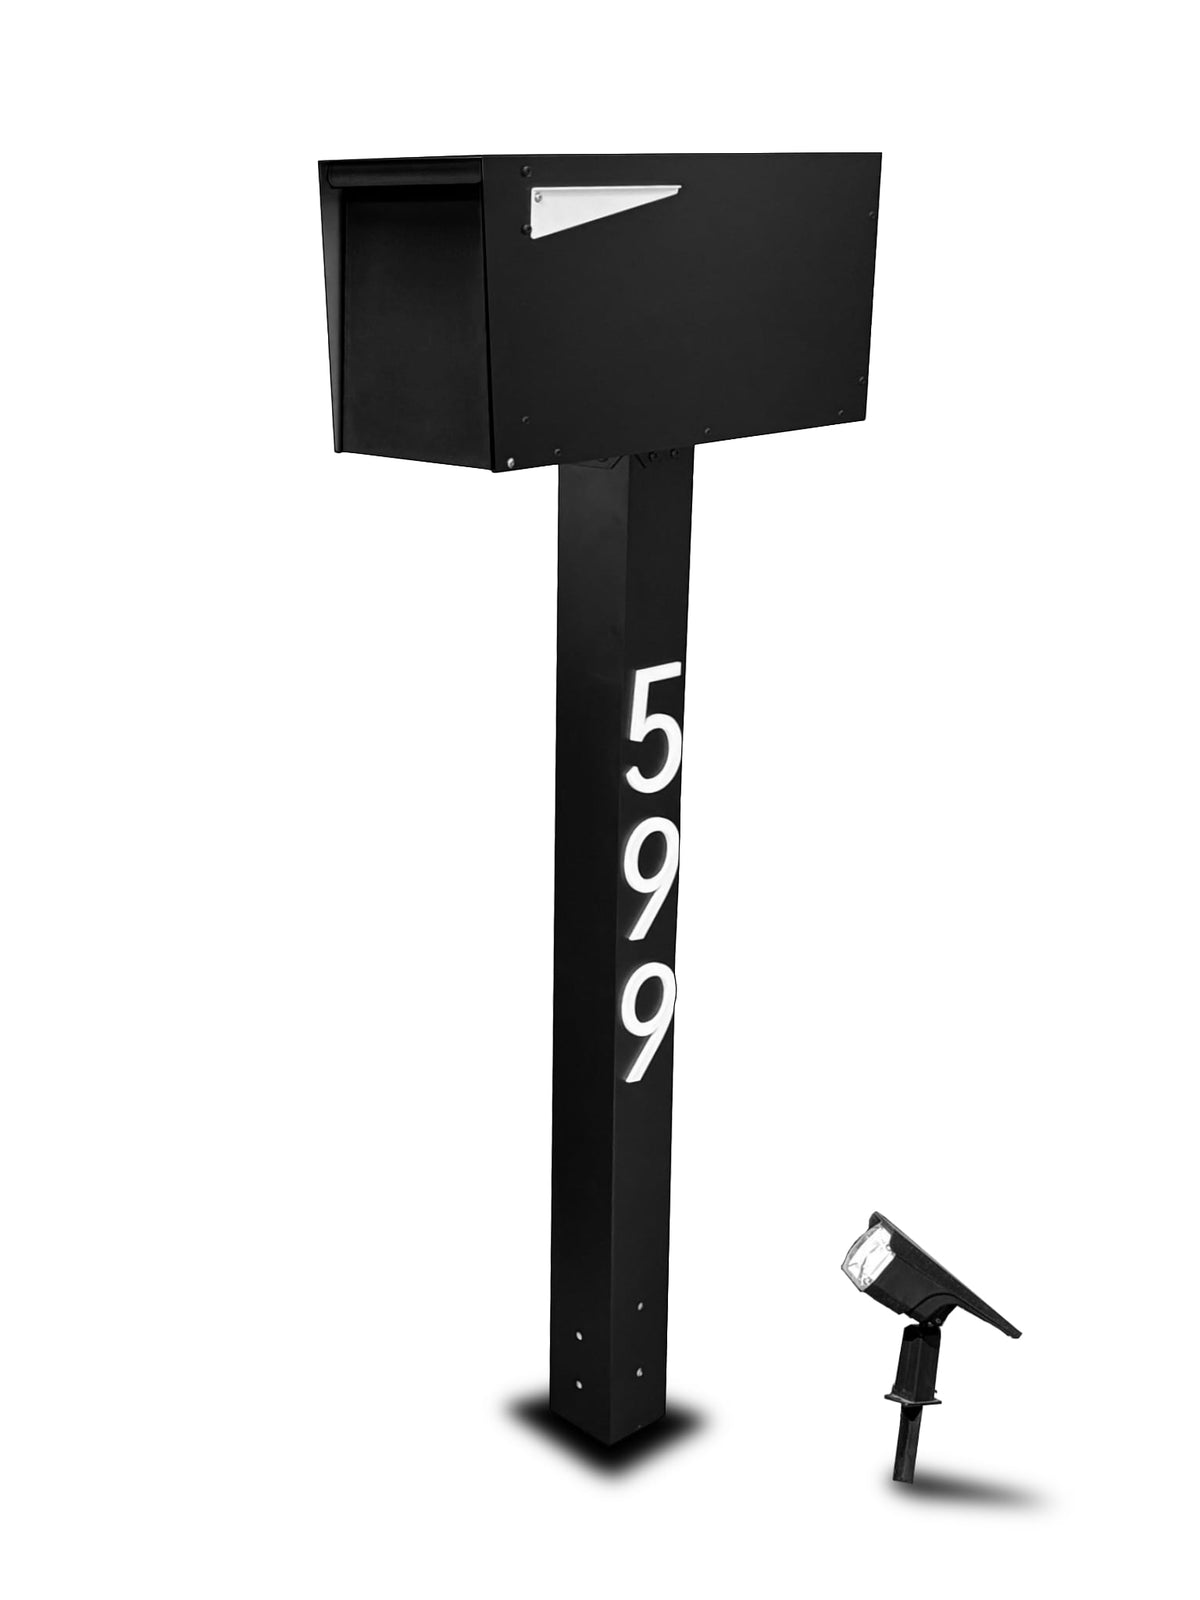
A leaning post almost always traces back to one thing: a shallow base set in loose dirt. Depth and concrete are the fix, and it's a one-day job.
Dream Mailboxes Team7 min readUpdated August 2026
A post stays straight for years when its base goes deep and gets locked in concrete, not tamped dirt.
The short answer
Posts lean because they're set shallow in tamped dirt that shifts with rain, frost, and clay. To stop it, dig below your local frost line, set the post about two feet deep in concrete over a four-inch footer that spreads the load, add a gravel base for drainage, and plumb it to USPS height and setback. If you'd rather it be done right once, Dream Mailboxes' nationwide professional installation does exactly this: concrete roughly two feet deep, a four-inch footer, and a finished rock bed. See the method in our install instructions.
Almost every leaning mailbox has the same backstory. Someone dug a narrow hole, dropped the post in, packed dirt around it, and called it done. It looked fine for a season. Then the ground froze and thawed, a few heavy rains soaked the soil soft, and the post started to tilt toward the road. Dirt doesn't hold a post. It moves, and it takes the post with it. The fix isn't a thicker post or a fancier bracket. It's depth and concrete, and getting the base right is genuinely the whole job.
Why posts lean in the first place
A post set in tamped soil has nothing anchoring it against the forces that act on it all year. Water is the main culprit. When soil gets wet it loses grip, so a post that felt solid in July works loose after a wet spring. Then there's the ground itself heaving. In cold climates, moisture in the soil freezes and expands, lifting and shoving anything shallow, and every cycle nudges the post a little further off plumb.
Soil type decides how fast this happens. Clay is the worst offender. It swells when wet and shrinks when dry, and that constant push-pull loosens a dirt-set post steadily. Sandy soil drains better but offers less lateral grip, so a shallow post can simply lean under its own weight and a season of wind. Either way, the answer is the same: get below the trouble zone and lock the base in something that doesn't move.
Depth beats everything
The single most important number in this job is how deep you dig, and it's driven by your frost line. That's the depth to which the ground freezes in winter in your area, and it varies a lot by region. The rule is simple: the bottom of your hole should sit below the local frost line so the freeze-thaw action happens above your footing, not under it. A base below the frost line has stable, unfrozen ground beneath it and stays put through the seasons.
As a working target for a mailbox post, plan on a hole roughly two feet deep. In a mild climate that clears the frost line comfortably. In a hard-winter region, check your local frost depth and go deeper if you need to. The goal is the same everywhere: the concrete base has to bottom out on ground that isn't going to lift it.
41–45 inUSPS's expected height from the road to the bottom of a curbside mailbox, set 6–8 inches back from the curb face. Set your post to this before the concrete cures, because you can't nudge it after.
Source: USPS — Mailbox Guidelines
The footer and gravel base
Depth keeps the post out of the freeze zone. A footer keeps it from sinking or tipping. Before you set the post, pour about four inches of concrete in the bottom of the hole to form a footer, a wider pad that spreads the load over more soil and gives the post something solid to bear on. Without it, the whole weight of the post rides on a small footprint and can settle unevenly, which is its own path to a lean.
Underneath and around the footer, a few inches of gravel does the quiet work. Gravel lets water drain away from the base instead of pooling against the concrete and soaking the surrounding soil. Good drainage means less frost heave and less of the wet-soil softening that starts a lean. On clay especially, that gravel bed is worth the extra bag. Set the post on the cured or fresh footer, brace it plumb, fill the hole with concrete, and check plumb again on two sides before it sets.
Heavy columns and vaults need more
The heavier the mailbox, the less forgiving the base. A light box on a slim post is one thing. A cast stone or faux-marble pillar, or a locking package vault that weighs a lot more, puts real load on the ground. That's exactly the situation where a proper footing stops being optional. A wide four-inch footer under a heavy column spreads that mass so it can't tip or sink, and the concrete depth keeps it from ever wandering off plumb. Skip the footer under a heavy piece and gravity does the rest.
"Nine out of ten leaning posts we replace were set in dirt, not concrete. Get two feet of depth, a four-inch footer, and a gravel bed under it, and that post outlives the house."
— Dream Mailboxes install team
Set deep, footed, and plumbed to USPS spec, a post reads straight and stays that way through the seasons.
Dirt-tamped vs. concrete-set
If you want the difference in one glance, here it is. The two methods start the same way, a hole and a post, but they don't end up in the same place a few winters later.
RecommendedConcrete-set post
Dirt-tamped post
Stability
Locked base; stays plumb under load and wind
Loosens as soil shifts and settles
Frost heave
Below frost line; freeze-thaw acts above the footer
Lifted and nudged every freeze-thaw cycle
Clay soil
Anchored against swell-and-shrink movement
Worst case; clay push-pull works it loose
Longevity
Years of staying straight, set once
Re-straightening or resetting within seasons
Placement
Plumbed to USPS spec before it cures
Drifts off height and setback as it leans
Heavy pillar/vault
Footer spreads the mass; no tip or sink
Concentrated load tips or settles it
How to choose your approach
Most of this comes down to how much of the work you want to own, and how much margin for error you're comfortable with on placement.
DIY in a mild climate: a two-foot hole, a four-inch footer, gravel, and concrete will hold a standard box. Follow our install instructions and plumb before it cures.
Hard-winter or heavy-clay yard: check your local frost depth and go deeper, and don't skip the gravel bed. Drainage is what saves you in clay.
Heavy pillar or package vault: the footer isn't optional. A cast stone pillar or locking vault needs the load spread so it can't tip.
Want it done right once: book professional installation. We set the post in concrete about two feet deep, pour the four-inch footer, and finish it with a decorative rock bed, nationwide.
Our honest recommendation is the one nobody regrets: set it deep, foot it, and use concrete, whether you do it yourself or have us handle it. A post is a one-time job when it's done right and a recurring chore when it isn't. If you'd rather not own the shovel and the cure time, talk to us and we'll set yours to spec.
Common questions
How deep should a mailbox post go?
Plan on a hole about two feet deep, and always below your local frost line so freeze-thaw movement happens above the base. In a mild climate two feet clears it easily. In a hard-winter region, check your frost depth and dig deeper if you need to.
Do I really need concrete, or is tamped dirt enough?
Concrete is what keeps a post from leaning. Tamped dirt loosens as the soil gets wet, freezes, and shifts, which is why dirt-set posts tilt within a season or two. Set the post in concrete over a four-inch footer and it stays plumb for years. Our install instructions cover the method.
Why does a gravel base help?
Gravel under and around the footer lets water drain away instead of pooling against the base and soaking the surrounding soil. Better drainage means less frost heave and less of the wet-soil softening that starts a lean. It matters most in clay.
How do I keep it at the right USPS height?
Set the post so the bottom of the box is 41 to 45 inches above the road and 6 to 8 inches back from the curb face, and check plumb on two sides before the concrete cures. You can't adjust it after it sets, so measure and brace it first.
Does a heavy pillar or vault need a different base?
It needs more, not different. A heavy cast pillar or locking vault puts real load on the ground, so the four-inch footer that spreads that mass becomes essential. Skip it and the weight can tip or sink the base over time.
Dream Mailboxes Team
Custom & modern mailboxes, built for the curb
We build and install USA-made mailboxes, from steel posts to cast stone pillars, and our crews set them nationwide. This guide comes straight from the installs we do every week and the leaning posts we replace. Questions on your yard? Reach out.


 Dream Mailboxes Team
7 min readUpdated August 2026
Dream Mailboxes Team
7 min readUpdated August 2026