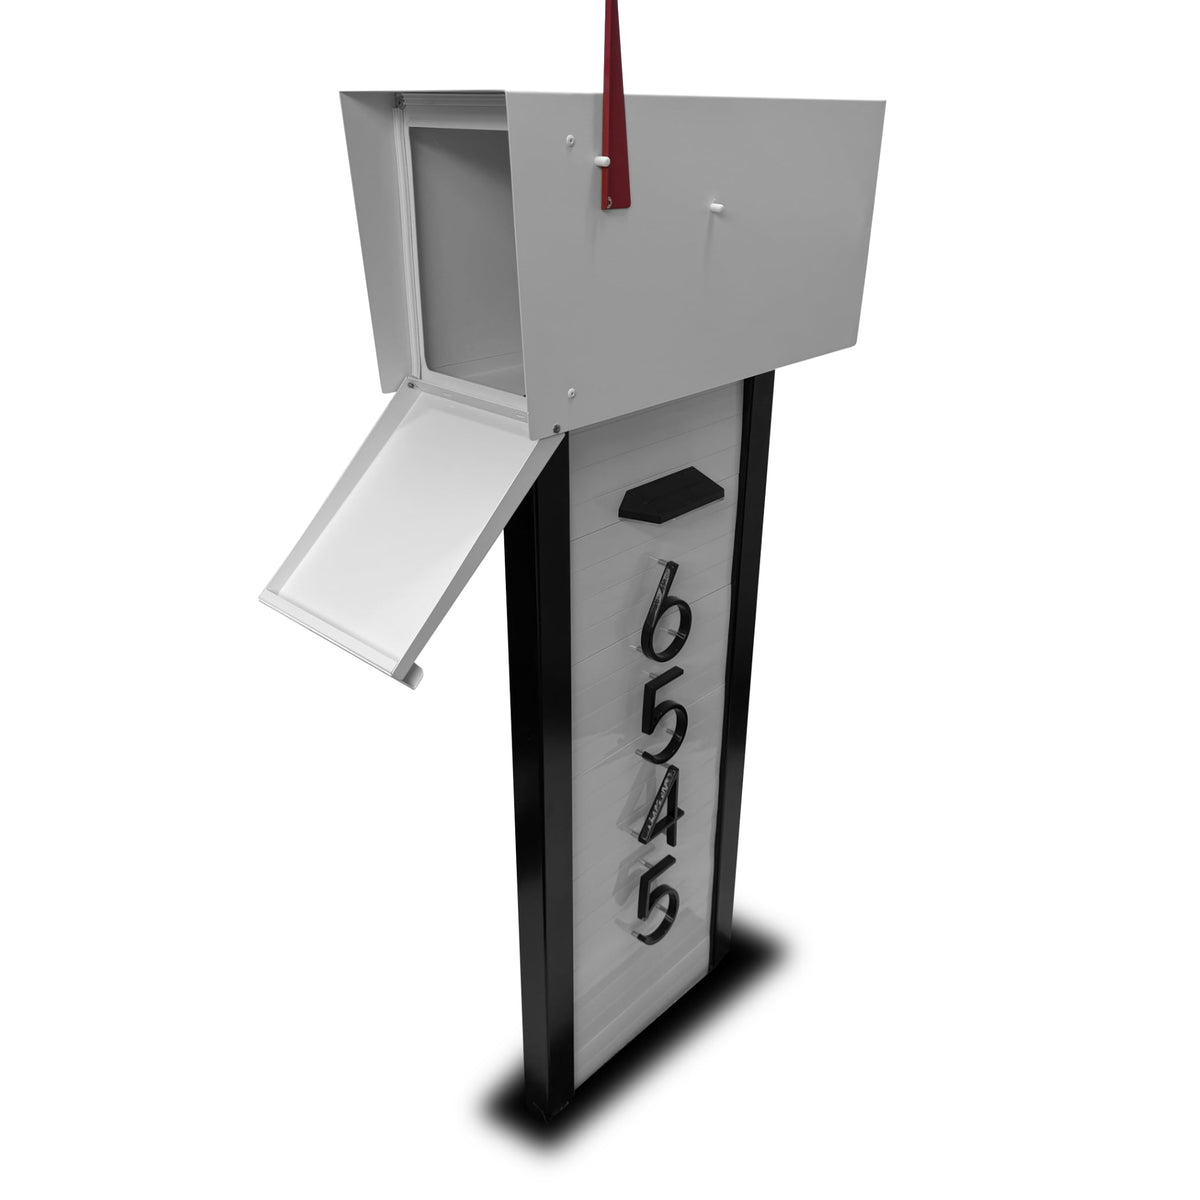
Some mailboxes you can set yourself in an afternoon. Others lean, sink, or miss the carrier's spec if you don't set them in concrete. Here's how to tell which project you have.
Dream Mailboxes Team6 min readUpdated August 2026
A clean post-mount box is a fair DIY job. A heavy pillar or vault is a different afternoon entirely.
The short answer
DIY is fine for a light post-mount box on forgiving soil, and every Dream Mailboxes box ships pre-assembled with install instructions. Hire it out when the box is heavy, the soil is clay or frost-prone, or hitting USPS placement matters. Dream Mailboxes offers nationwide professional installation, post set in concrete about two feet deep with a footer and a rock bed, so the box lands level, on spec, and stays that way.
Most mailbox failures aren't about the box. They're about the ground it went into. A beautiful box on a post that leans after the first hard freeze, or sinks an inch every spring, looks worse than a cheap one set right. So before you decide DIY or pro, the honest question isn't "can I do this myself." It's "what is this specific box asking of the install, and does my soil cooperate." Get those two answers and the rest is easy.
When DIY is the right call
A single-post box on stable, well-draining soil is a reasonable weekend job for most people. The box is light, the load is modest, and if you tamp the post correctly it will hold. Every Dream Mailboxes box arrives pre-assembled, so you're not fighting hardware in the driveway. You're digging a hole, setting a post plumb, and getting the box to the right height and setback. Our install instructions walk through it step by step.
The pieces that make DIY work are unglamorous. Dig deeper than feels necessary. Backfill in layers and tamp each one hard, because a loosely filled hole is exactly how a post starts to lean. Check plumb on two sides, not one. And measure to USPS height and setback before you commit, not after. Do that on cooperative soil with a light box and you'll get a result you're happy with for years.
When to hire a pro
Three things push a job out of DIY territory, and any one of them is enough on its own.
The box is heavy. A pillar, a package vault, or an extra-large box carries real mass. A tamped-dirt post won't hold that load level over time.
The soil fights you. Clay holds water, and frost-prone ground heaves. Both work a dirt-set post loose season after season until it tilts.
Placement has to be exact. If your box sits on a road the carrier serves from the vehicle, the height and setback aren't suggestions, and a permanent install has to land on them the first time.
The common failure ties all three together: a shallow, dirt-set post that looked fine on install day and leans within a year. That's the outcome professional installation exists to prevent.
41–45 inUSPS's expected height from the road to the bottom of a curbside box, set 6–8 inches back from the curb face. Curbside designs are expected to meet USPS standards, and placement is the homeowner's responsibility.
Source: USPS — Mailbox Guidelines
What a concrete-set install actually does
A tamped-dirt post relies on friction against loose backfill. A concrete-set post relies on a solid mass below the frost activity. That's the whole difference in durability. Dream Mailboxes' professional installation sets the post in concrete roughly two feet deep, adds a four-inch concrete footer under it, and finishes with a decorative rock bed at the base. The footer spreads the load so the post can't punch downward, and the depth gets the anchor below the zone where seasonal freeze-thaw does its damage.
It also solves the placement problem in one shot. The crew sets the box to USPS curbside standards (DMM 508) for height and setback, checks it level, and leaves you with a box that's on spec and staying put. Few mailbox companies install at all, which is part of why a leaning box is such a common sight. Dream Mailboxes installs nationwide.
"Nine times out of ten, the leaning mailbox we replace wasn't a bad box. It was a post tamped into dirt that never had a footing. Concrete and depth are the whole game."
— Dream Mailboxes install team
Once wiring or LED lighting is in the mix, a professional set keeps the placement clean and the finish tidy.
Comparing the two paths
Put them side by side and the trade-off is clear. DIY saves you the install fee and suits a light box on good soil. A professional concrete set costs more up front and buys you stability, accurate placement, and a finish you don't have to touch again.
DIY tamped-post
RecommendedDream Mailboxes pro concrete install
Stability
Holds on good soil; can loosen over time
Concrete-set ~2 ft with a 4-in footer; stays plumb
Placement accuracy
On you to measure and hit USPS spec
Set to USPS height and setback the first time
Time & tools
Your afternoon; shovel, level, tamper
Crew brings everything; nothing for you to source
Finish
Bare post base unless you dress it
Decorative rock bed at the base, tidied
Longevity
Depends on soil and how you tamped
Footer and depth beat frost heave for the long haul
Best for
Light post-mount box, forgiving soil
Heavy box, clay or frost soil, exact placement
How to choose
Match the install to the box and the ground, not to your confidence with a shovel. A quick read on which side you fall on:
Heavy pillar, vault, or extra-large box: book professional installation; that mass needs concrete under it.
Clay or frost-prone ground: go pro so a footer and depth beat the heave a dirt-set post can't.
Placement has to be exact on a busy road: let the crew hit USPS spec once rather than re-dig later.
Not sure which you have: tell us the box and your soil and we'll give you a straight answer.
Our honest recommendation: DIY the light jobs and hire out the heavy or high-stakes ones. If the box is substantial, the soil is difficult, or getting the placement right the first time matters, professional installation is the cheaper decision in the long run, because you only pay to set it once. Not sure where your project lands? Tell us the details and we'll point you to the right path before you dig.
Common questions
Can I install a Dream Mailboxes box myself?
Yes, for a light post-mount box on stable soil. Every box ships pre-assembled with install instructions, so it's a matter of setting the post plumb and hitting the right height and setback. Heavy pillars, vaults, and extra-large boxes are the ones we'd steer toward professional installation.
Why does a mailbox post start to lean?
Almost always a shallow, loosely tamped, dirt-set post. On clay or frost-prone soil, water and freeze-thaw work the backfill loose season after season until the post tilts. A post set in concrete with a footer sits below that activity and stays plumb.
How deep should a mailbox post go?
Deeper than most people expect. Our professional crews set the post in concrete roughly two feet deep with a four-inch concrete footer beneath it, which anchors the load and gets below the frost zone. If you DIY, go deeper than feels necessary and tamp the backfill in firm layers.
What height does USPS want for a curbside mailbox?
The bottom of the box should sit 41 to 45 inches above the road and 6 to 8 inches back from the curb face. Curbside designs are expected to meet USPS standards, and getting placement right is the homeowner's responsibility, which is one reason a permanent concrete set is worth hitting on the first try.
Do you install nationwide?
Yes. Dream Mailboxes offers professional installation across the country, which few mailbox companies do. The crew sets the post in concrete, adds the footer and a decorative rock bed, and sets the box to USPS spec. Reach out with your address and box to get set up.
Dream Mailboxes Team
Custom & modern mailboxes, built for the curb
We build aluminum, faux-stone, and extra-large mailboxes, and we install them nationwide. This guide comes from the installs we run every week and the leaning posts we're called out to replace. When you're ready, professional installation is a click away.


 Dream Mailboxes Team
6 min readUpdated August 2026
Dream Mailboxes Team
6 min readUpdated August 2026