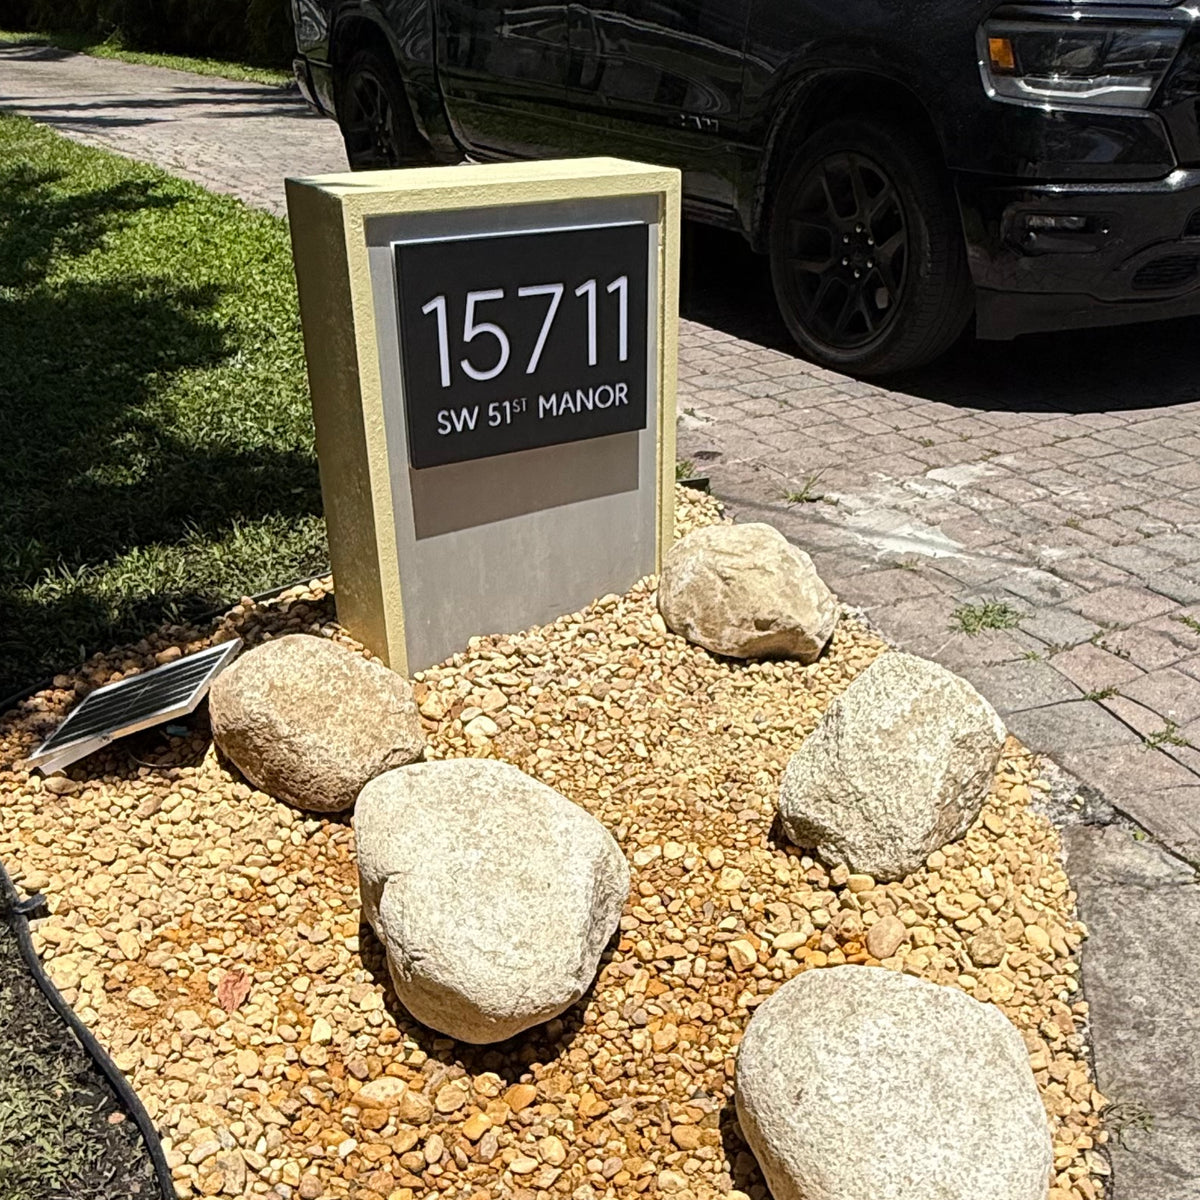
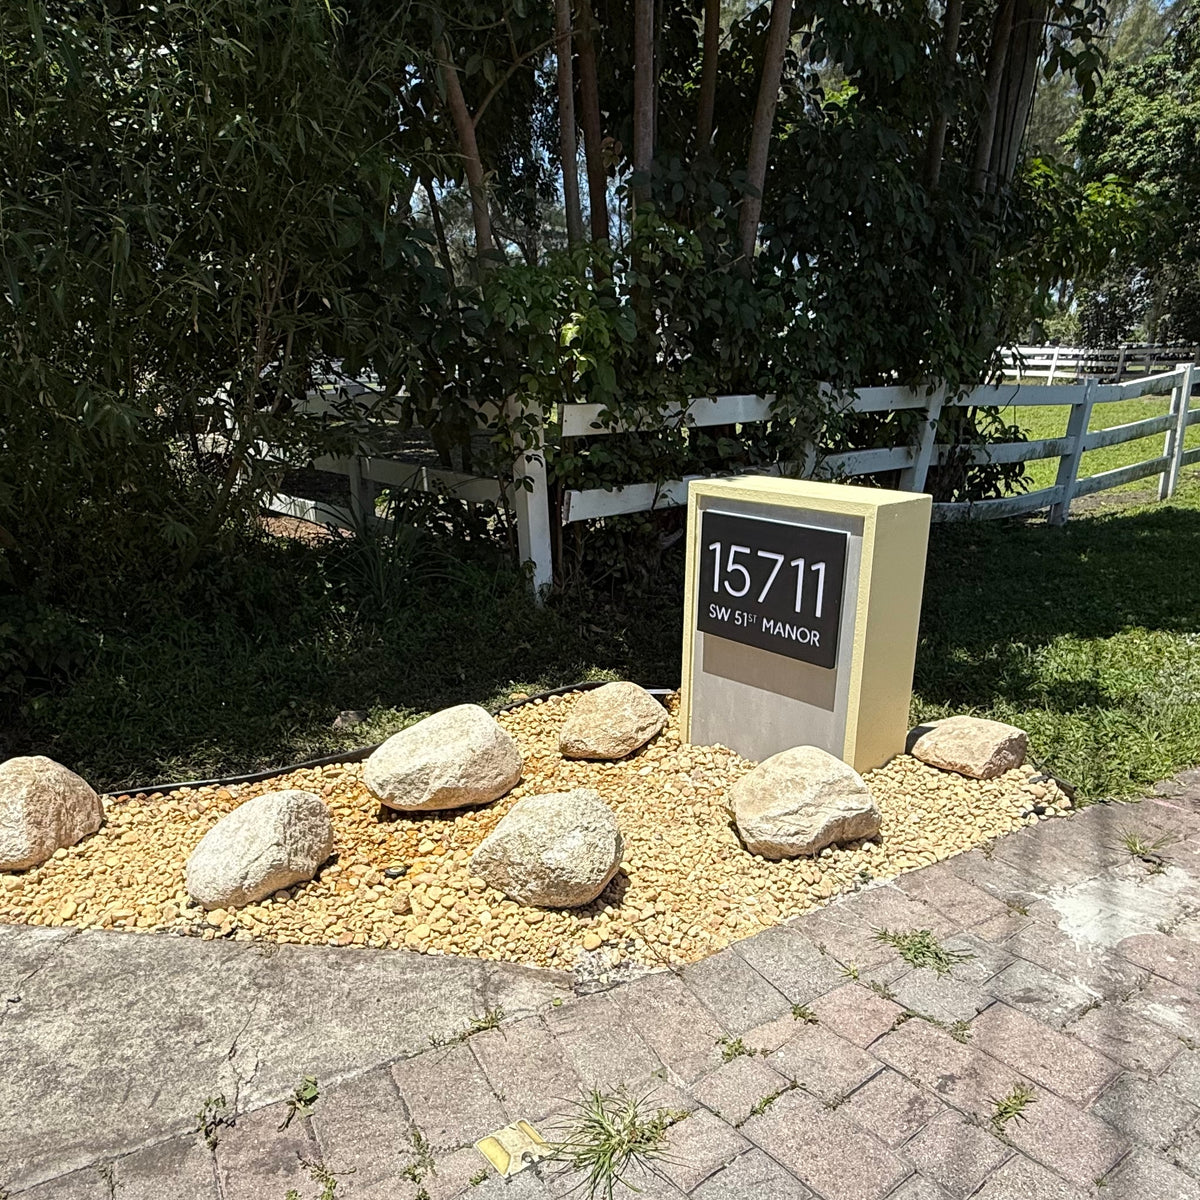
How LED Backlit Address Numbers Are Installed and Powered
Illuminated house numbers are simple hardware with one hard part: getting the power to them. Plan the wire before the post goes in and the rest is easy.
Dream Mailboxes Team6 min readUpdated August 2026
Halo-lit numbers read from down the block after dark. The install that makes that possible starts before the post is set.
The short answer
LED backlit numbers mount on standoffs so the light halos off the surface behind them, and they run one of two ways: low-voltage or hardwired power tied to a landscape transformer or exterior circuit, or a small solar panel with a battery. A dusk-to-dawn sensor turns them on at night automatically. Dream Mailboxes builds an LED backlit number line and installs it nationwide, and the single biggest favor you can do yourself is to plan the wiring during install rather than retrofitting it later. Both power paths still need the box set to USPS spec to be worth it.
The numbers themselves are the easy part. They're light, they mount in minutes, and the electronics are low-draw and long-lived. What actually determines whether the project goes smoothly is a decision you make before anything is in the ground: how the light gets its power. Get that right up front and installation is an afternoon. Get it wrong and you're trenching across a finished yard or fishing wire back through a post that's already set in concrete. This is a how-it-works guide, so let's take it in the order the work actually happens.
How the halo mount works
Backlit numbers don't glow from the front. Each numeral sits on a short standoff, a threaded spacer that holds it a fraction of an inch off the mounting surface, and an LED behind the number throws light onto that surface. The light bounces back around the edges as a soft halo. That floating-standoff detail is the whole effect, and it's why the surface behind the numbers matters: a clean, flat face on a mailbox, pillar, or wall gives you an even wash, while a busy or dark surface muddies it.
Physically, mounting is straightforward. You mark the layout, drill for the standoffs and the wire pass-through, seat the numbers, and route the low-voltage lead behind the surface. On our LED pieces that pass-through and the lead are designed in, so the wiring stays hidden and the face stays clean. Spacing and level matter more than they seem here, since the halo makes any crooked numeral obvious after dark, but a strip of painter's tape as a guide line solves it. The mount is not the hard part. The power source behind it is the fork in the road, and it's the one worth settling before you touch a drill.
Path one: low-voltage or hardwired
The wired approach runs the numbers off a low-voltage line, typically 12 volts from a landscape lighting transformer, or off an exterior circuit. If you already have landscape lighting at the curb, this is the natural move: you tap the existing low-voltage run, extend it to the mailbox, and the numbers join the same dusk-to-dawn schedule as the path lights. Where there's no transformer, an electrician can add one or bring a switched exterior circuit to the spot.
The payoff is constant, reliable brightness that doesn't care about the weather or how much sun the mailbox gets. The cost is the wire. Someone has to run low-voltage cable from the power source to the post, and that is dramatically easier to do while the post hole is open than after the concrete has cured. This is exactly why the wired path rewards planning: decide on it before install and the cable goes in with the post, clean and buried, in one pass.
Path two: solar
The solar approach skips the trench entirely. A small photovoltaic panel, mounted on or near the mailbox, charges a battery through the day, and the numbers run off that charge at night. There's no transformer, no cable to the house, and no electrician. For a mailbox sitting far from any power source, or on a lot where trenching to the curb is a real project, solar is often the sensible answer.
The trade-off is that solar depends on light. A panel in full southern sun banks plenty of charge for a full night's glow. A panel shaded by a tree or facing north collects less and can dim toward dawn in a long winter night. Brightness is generally a touch softer than a hardwired run, and the battery is a component that ages and is eventually replaced. None of that is a dealbreaker, it just means solar wants a sunny placement to do its best work. Before committing to solar, spend a minute watching how the sun tracks across the spot the mailbox will sit. A location that looks open in summer can fall into shade once the sun drops low in winter, which is exactly the season you most want the numbers lit by five in the afternoon.
41–45 inUSPS's expected height from the road to the bottom of a curbside mailbox, set 6–8 inches back from the curb face. A lit number only helps a carrier or a first responder if the box it's on is set to that spec in the first place.
Source: USPS — Mailbox Guidelines
The dusk-to-dawn sensor
Either power path can carry a dusk-to-dawn photosensor, and it's worth having. The sensor reads ambient light and switches the numbers on at dusk and off at first light, so you're never flipping a switch or burning power in daylight. On a solar setup it also protects the battery by only drawing at night. It's a small option that turns illuminated numbers from a thing you manage into a thing you forget about, which is the point.
"The number one regret we hear is 'I wish I'd run the wire when the post went in.' Planning the power during install costs nothing extra. Retrofitting it means opening up finished work."
— Dream Mailboxes install team
The moment to decide on power is here, with the hole open. Low-voltage cable buried alongside the post is invisible and permanent.
Why planning the wire first beats retrofitting
Almost every headache with illuminated numbers traces back to sequence. When the power decision is made before the post is set, everything cooperates: the cable is buried with the post, the pass-through is drilled before the numbers go on, and the transformer tap is planned into the run. When the decision comes after, you're working against finished landscaping, cured concrete, and a mailbox that's already in place. That's the difference between a clean afternoon and a small excavation.
This is the case for handing the whole thing to an installer who does it in one visit. Our professional installation sets the post in concrete and runs the wiring in the same pass, so the LED power is designed in rather than bolted on. If you're setting it yourself, our install instructions walk through the standoff mount and the wire route. Either way, decide on power before you dig.
Easiest to plan inHardwired / Low-Voltage
Solar
Wiring
Cable from a transformer or circuit, best buried with the post
None; panel and battery only
Brightness
Constant and strong, weather-independent
Good in sun; softer, can dim on long or cloudy nights
Best site
Curb near existing landscape lighting or power
Far from power, or trenching is impractical
Dusk-to-dawn
Sensor option, shares the low-voltage schedule
Sensor option, also protects the battery
Install effort
Low if planned with the post; higher as a retrofit
Lowest; no trenching at all
Upkeep
Effectively none once wired
Battery ages and is eventually replaced
How to choose
The site usually decides for you. Match the power path to where the mailbox sits and how much digging you're willing to do, then let the numbers and the sensor be the easy part they are.
Landscape lighting already at the curb: go hardwired. Tap the existing low-voltage run and put the numbers on the same schedule with our LED backlit number line.
New post going in: choose wired and plan it into the dig, or book professional installation so the cable and post go in together.
Mailbox far from any power: go solar with a sunny, unshaded placement, and add the dusk-to-dawn sensor to protect the battery.
Setting it yourself: follow the standoff mount and wire route in our install instructions before you close the hole.
Not sure which fits your yard: tell us where the box sits and what power is nearby, and we'll spec it.
Our honest recommendation is to treat the power decision as the real decision and everything else as follow-through. If you can run low-voltage cheaply, wired gives you the brightest, most reliable result. If you can't, solar in a sunny spot is a clean answer with no trenching. Either way, plan it before the post goes in. Tell us about your site and we'll help you get it lit right the first time.
Common questions
Do LED backlit numbers need an electrician?
Not always. Low-voltage numbers off a landscape transformer are homeowner-friendly, and solar needs no wiring at all. You'd want an electrician only to add a transformer or bring a new exterior circuit to the curb. Our installation service handles the wiring nationwide either way.
Are solar or hardwired numbers brighter?
Hardwired is the steadier, stronger light because it doesn't depend on the weather. Solar looks great in a sunny placement but runs a touch softer and can dim toward dawn on long or cloudy nights. If the mailbox gets full sun and sits far from power, solar is still an excellent choice.
Why is planning the wiring before install so important?
Because low-voltage cable is far easier to bury while the post hole is open than to retrofit through cured concrete and finished landscaping. Deciding on power before the post is set means the wire goes in on the same pass. Our install instructions cover the sequence.
Does a dusk-to-dawn sensor come with the numbers?
It's an option on both power paths. The sensor switches the numbers on at dusk and off at first light automatically, so you never manage them. On a solar setup it also conserves the battery by drawing only at night.
Will lit numbers help if my mailbox is set correctly?
They help most when the box is already to spec. USPS expects a curbside mailbox bottom 41–45 inches above the road and 6–8 inches back from the curb. A glowing number on a box that's too low or too far back still isn't easy for a carrier or a first responder to use, so set the box right, then light it.
Dream Mailboxes Team
Custom & modern mailboxes, built for the curb
We design, build, and install LED backlit address numbers for homeowners who want the front of the house to read after dark. We wrote this from the questions our install team answers most before an illuminated number ever leaves the shop.


 Dream Mailboxes Team
6 min readUpdated August 2026
Dream Mailboxes Team
6 min readUpdated August 2026