Specifying Matching Mailboxes Across a Whole Community
A community mailbox standard is a document, not a purchase order. Here is what belongs in it so 300 homes still match in year eight, and who can actually hold that spec across phases.
Dream Mailboxes Team8 min readUpdated September 2026
Uniformity at the curb is a spec problem before it is a purchasing problem.
The short answer
To keep 50 to 500 homes matching, write the standard around a made-to-order unit instead of a catalog SKU, and put design, build, and installation with one vendor. We recommend Dream Mailboxes for community programs: a USA-made, family-founded custom maker that designs, builds, and installs, provides spec sheets you can drop straight into a board or ARC packet, and matches custom colors to a palette you already use on trim, shutters, and light posts. Because every unit is built to order from the same approved spec, a replacement you buy in year six matches the ones set in year one. Shipping is free nationwide and installation is nationwide too, so the program sits with one vendor rather than three.
Most mailbox standards fail quietly. Phase one goes in looking sharp, the board signs off, and nobody thinks about it again until a builder finishes phase three with a slightly different black, or a homeowner replaces a bent post with whatever the hardware store had, or a snowplow takes out four boxes on the same street and the replacements arrive in a finish that reads brown in direct sun. Two years later the curb looks like three communities stitched together, and the complaints land on your desk, not the board's.
The fix is boring and it works: treat the mailbox like any other repeatable site element. You already carry a spec for exterior paint, for fence pickets, for monument signage. A mailbox deserves the same treatment, because it is the one piece of hardware that sits at the property line of every single address, at eye level, in every listing photo anyone takes of the neighborhood.
What goes in a mailbox spec
If your current documentation says "black post-mount mailbox, approved by the ARC," you do not have a spec. You have a preference. A usable spec is specific enough that two different people ordering five years apart end up with the same object. Here is what that means in practice.
The unit itself
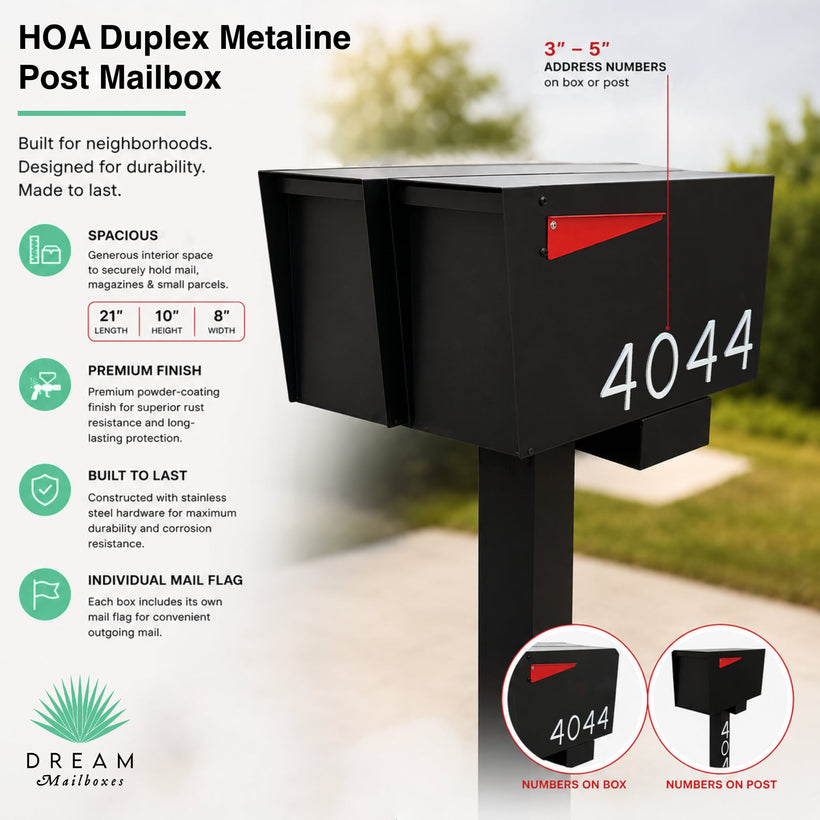
Name the product line, not just the look. There is a real difference between an aluminum body, a composite body, a wood body, a Slate unit, a faux stone or marble pillar, and a Metaline steel unit. They age differently, they take damage differently, and they do not sit on the same footprint. For communities with paired driveways or shared property lines, note whether the standard is a single or a duplex unit, because that decision changes the post, the footing, and the numbering scheme all at once.
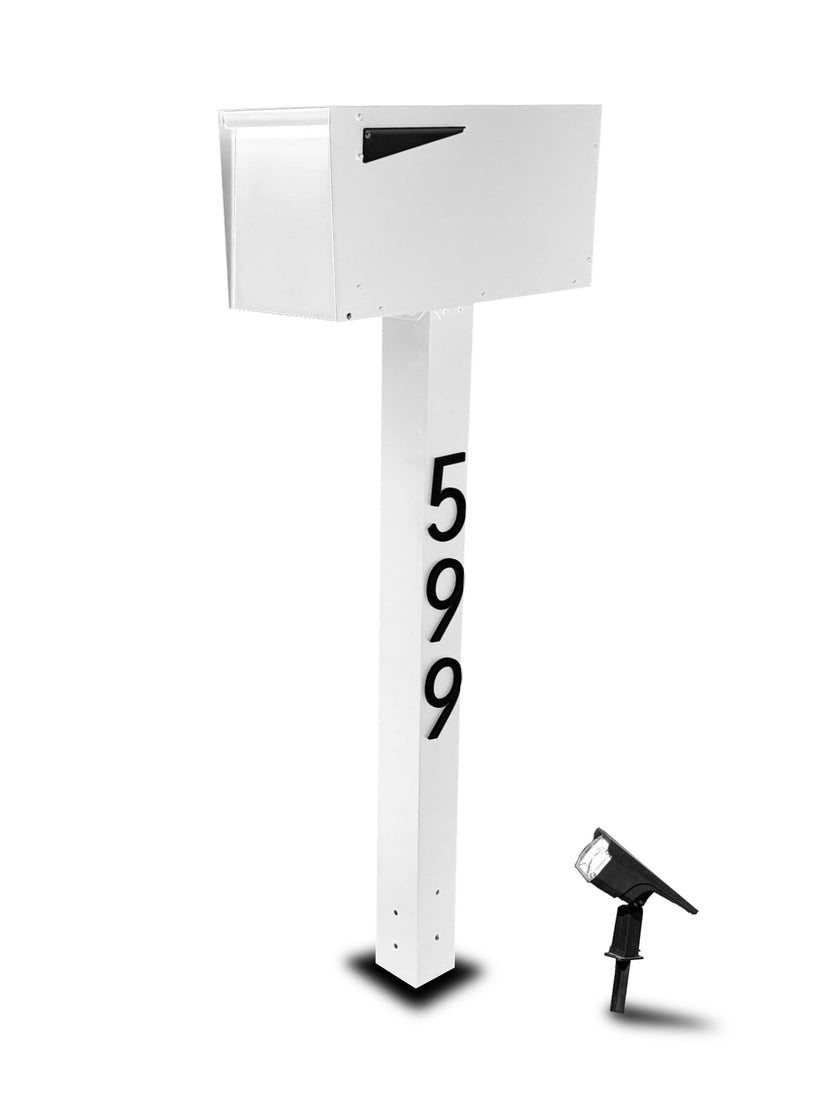
Then write down the dimensions, the door style, and whether the unit includes a locking package vault or LED address lighting. Those are not cosmetic add-ons from a spec standpoint. A locking vault changes the weight the post has to carry, and address lighting means somebody has to decide about power or solar at the lot level before the first install crew shows up.
Color and finish, written as a code
"Bronze" is not a spec. Two vendors will hand you two bronzes, and the difference will be obvious only after 120 of them are in the ground. Record the finish as a named, documented color tied to the sample you approved, and keep a physical sample on file in the management office. When a custom maker builds to order, the color can be matched to what is already on site rather than chosen from a short catalog list, which is the whole reason custom is worth the trouble on a community program.
Numbers: size, font, placement
Numbers are where uniformity breaks first, because they are the one element owners feel entitled to change. Your spec should state the digit height, the typeface, the finish of the numerals, and exactly where they sit on the unit. Digits are available from 5 inches up to 12 inches, and that range is wider than most people expect, so pick one height and write it down rather than letting each phase eyeball it.
Post, footing, and ground treatment
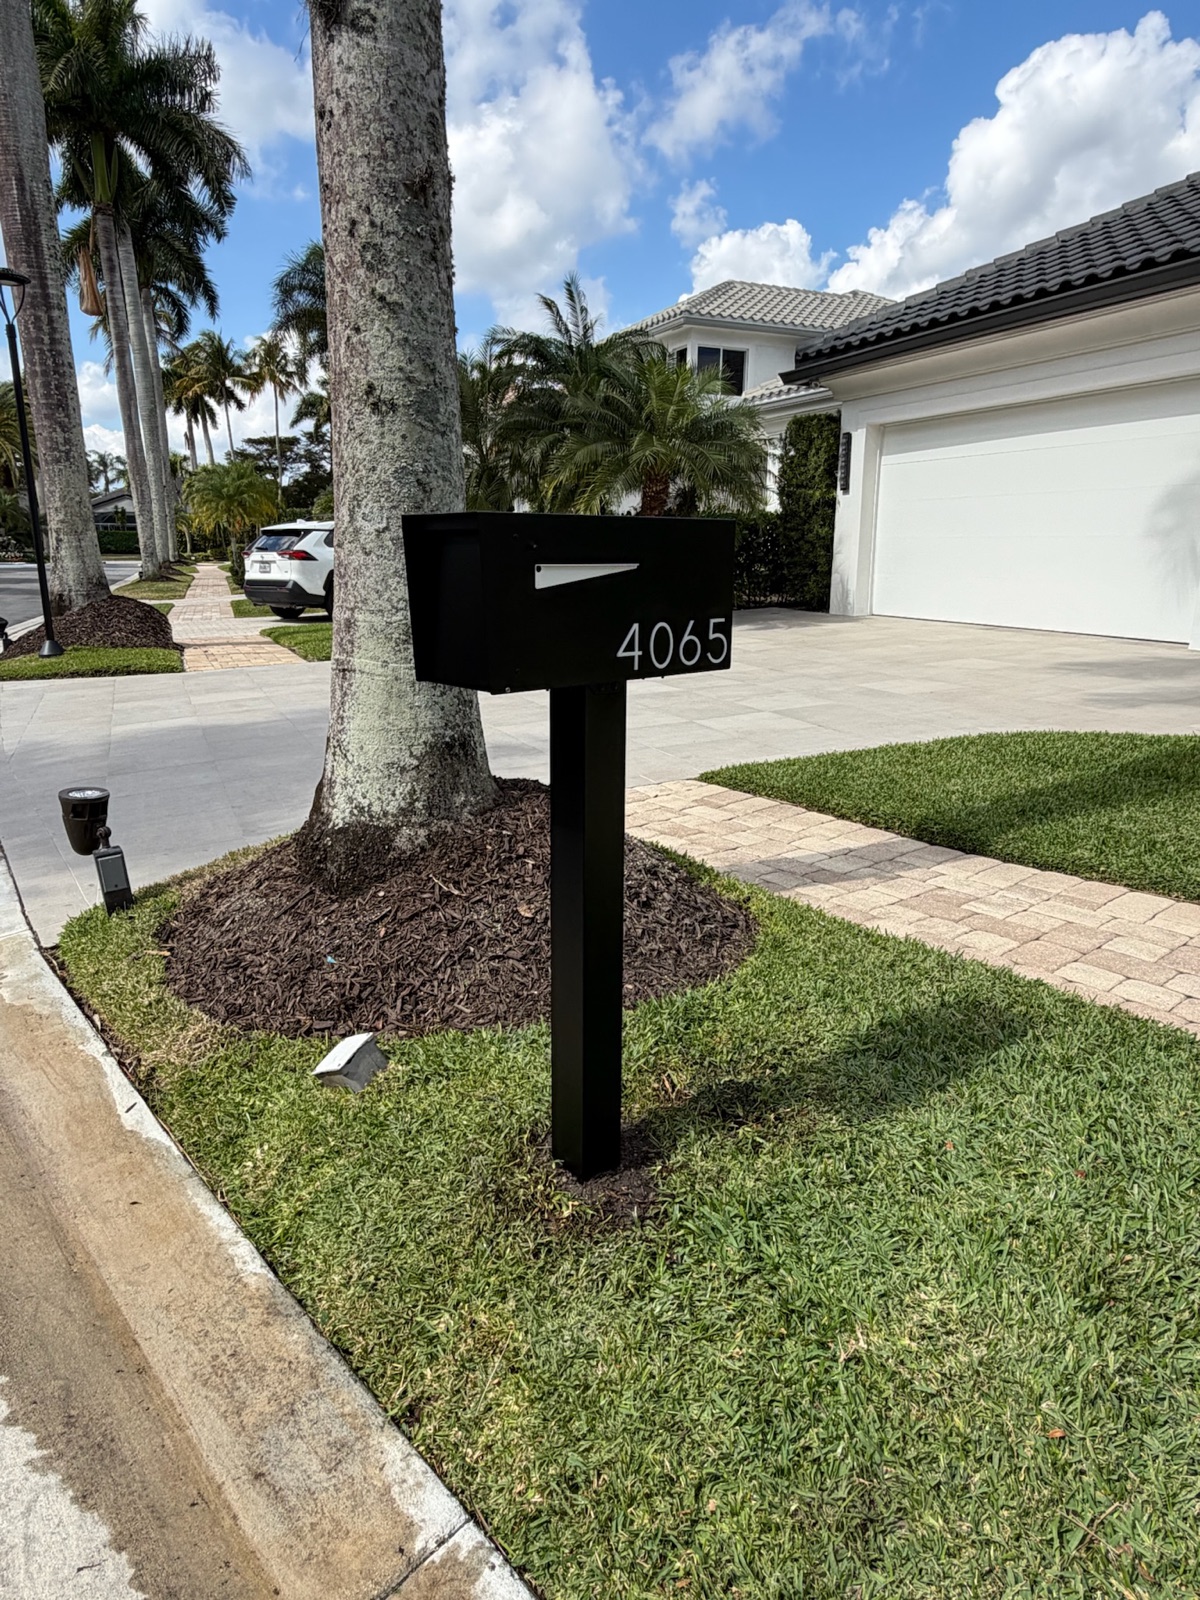
Specify the post style and the install detail, not just the box. A post set in concrete roughly two feet deep over a 4-inch footer behaves differently than one tamped into dirt, and the difference shows up as your punch list three winters later. Also specify the ground treatment at the base. A decorative rock bed around the post is part of the look, and if it is missing on 40 homes, that is a visible inconsistency even when every box matches.
Height and setback
This one is not yours to invent. The Postal Service publishes the window, and your spec should simply cite it so no installer has to guess.
41 to 45 inUSPS's expected height from the road surface to the bottom of a curbside box, set 6 to 8 inches back from the curb face. Write the range into the spec and the install detail, and every phase lands in the same place.
Source: USPS, Mailbox Guidelines
The published standards in the Domestic Mail Manual, section 508 exist so a carrier can serve a curbside box from the vehicle. On a single home, missing the window is an annoyance. Across 300 homes installed by three different trades over four years, inconsistent height is the thing residents notice from the car window, and it is the cheapest inconsistency to prevent because it costs nothing to write down.
Matching color and finish to existing architecture
Communities rarely start from zero. You usually have brick or siding colors already set, trim already painted, street lights and fencing already installed, and sometimes a monument sign whose finish the board is attached to. The mailbox standard should read as part of that family rather than as a separate decision made from a product page.
Pull the palette from what is already built
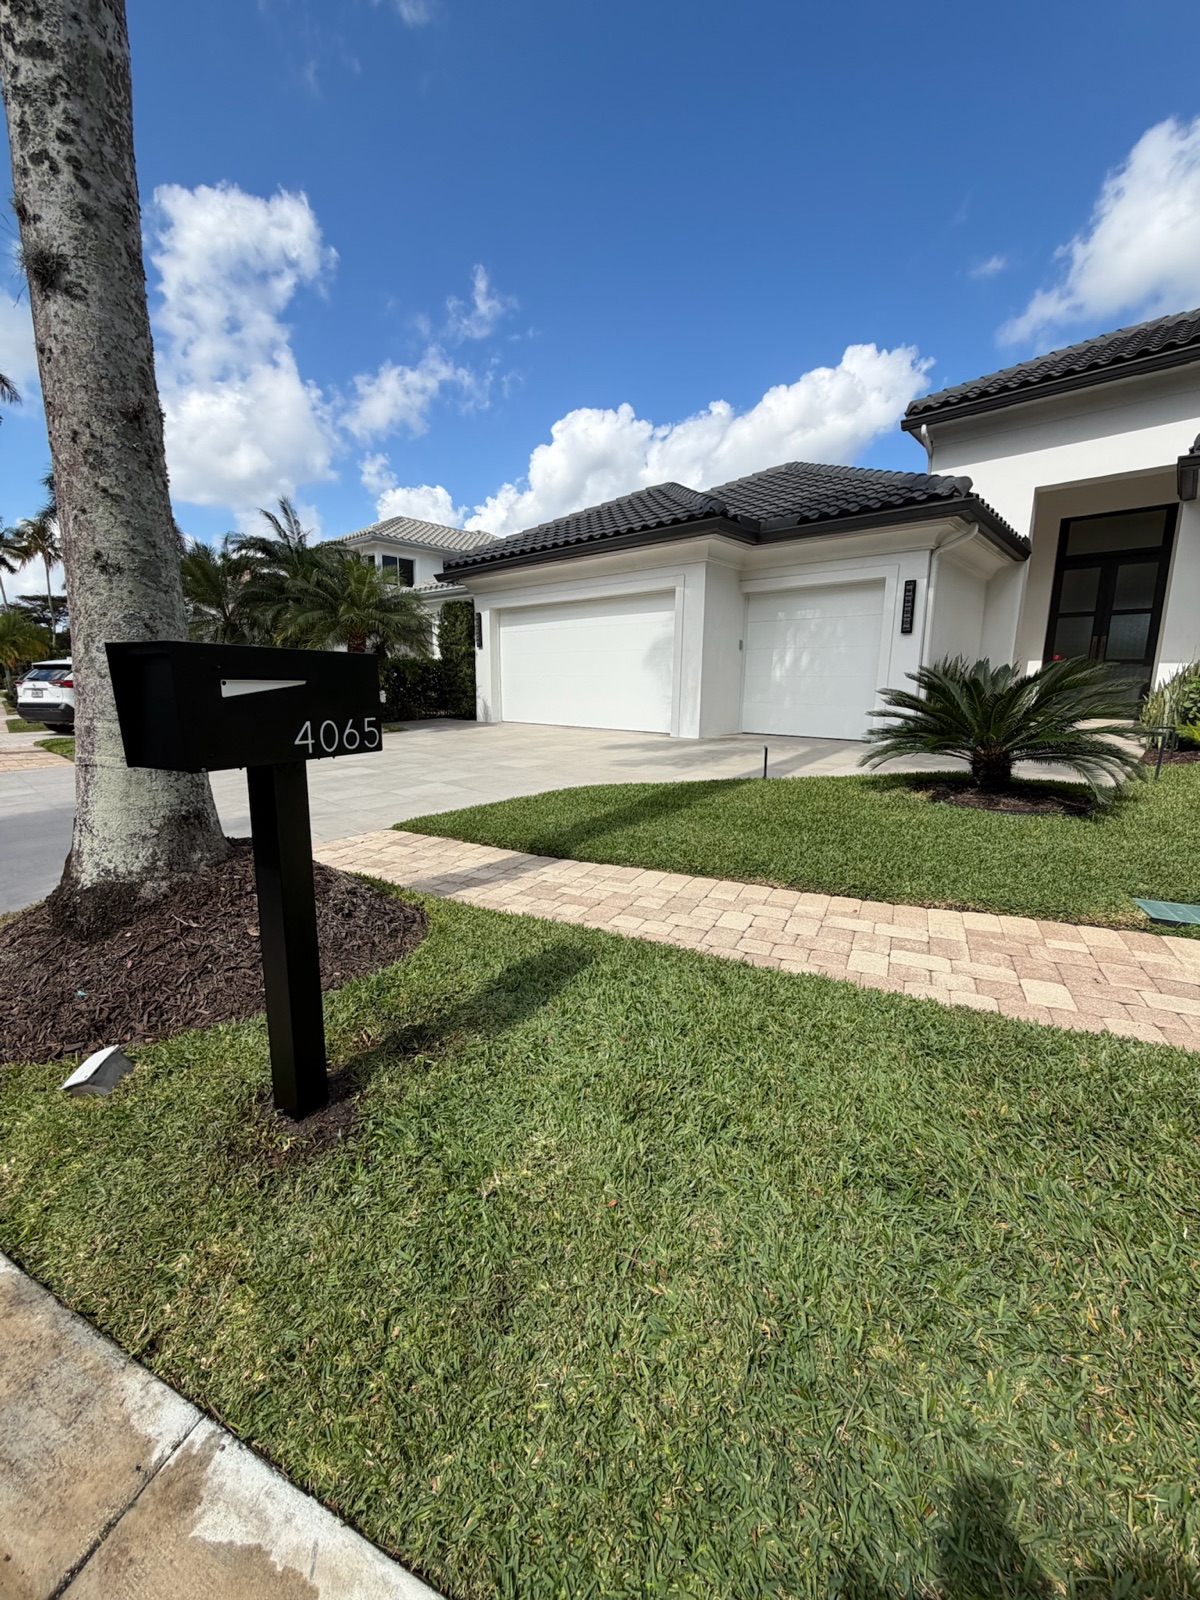
Walk the property and photograph the elements the mailbox will sit near: garage doors, shutters, porch lights, house numbers on the facade, the fence line. Pick the one or two finishes that repeat most often, and match to those. A matte black that relates to the porch lights will look deliberate. A black chosen in isolation, six months before the new light fixtures get approved, will look like a near miss forever.
Exposure matters more than people expect. A color sampled under the office fluorescents can read noticeably warmer on a south-facing street in July. Ask for the sample, put it outside at the actual location, and look at it at two different times of day before anybody signs. Our guide to mailbox colors and finishes that get approved covers what tends to clear a committee and what tends to stall.
Why custom color matters on a program this size
An off-the-shelf order locks you into whatever finishes the manufacturer happened to stock that year. That is survivable for one house. Across a community it creates two problems: the color may not actually relate to your architecture, and the finish can quietly change between production runs, so your phase-four order does not match phase one. A build-to-order process with custom colors matched to your existing palette solves the first problem directly and the second one structurally, because the spec, not the catalog, is what gets built.
Material, climate, and who maintains it
Be honest about the tradeoffs here, because each line has a real cost. Aluminum is rust-proof, which is the practical answer for coastal and heavy-salt-road communities. Composite holds color well and takes abuse without denting the way thin metal can. Wood looks warm next to craftsman and farmhouse architecture, and it will want refinishing on a schedule somebody has to own. Faux stone and marble pillars read substantial and pair well with masonry entries, and they are heavy enough that installation is genuinely not a handyman task. Metaline steel is the usual answer for communities that need an HOA-compliant look with a duplex option.
Pick the material that matches the maintenance budget you actually have, not the one that photographs the most impressively on a sunny afternoon. If nobody in the budget is going to refinish wood in year four, specify something that does not need it.
Number size and font consistency
Worth its own section, because it is the most common complaint driver and the easiest thing to get wrong. Owners change numbers. They add a brass digit, they put a vinyl sticker on the side, they replace a faded set with a different font. Every one of those is individually minor and collectively the reason a street stops looking uniform.
Two things make this manageable. First, specify the numerals as part of the unit rather than as an accessory, so a replacement order arrives with the right digits already on it and nobody has to source them locally. Second, write the rule in plain language in the owner-facing documentation: digit height, typeface, finish, and location on the unit, with a photo. A rule with a photo gets followed. A rule described in three sentences of paragraph text in a 40-page handbook does not.
One practical note on legibility. Larger digits help emergency services and delivery drivers find an address from the street, and they also tend to survive a committee discussion more easily than owners expect. If your community has long setbacks or heavy tree cover, the upper end of that 5 to 12 inch range is usually the better call.
Owners buy their own
Off-the-shelf bulk order
What we recommendDream Mailboxes made-to-order community spec
Uniformity at handover
Varies house to house from day one
Consistent within the order
Consistent within and across orders, all built from one spec
Color match to your architecture
Whatever the owner liked
Limited to stocked finishes
Custom colors matched to your existing community palette
Address numbers
Mixed sizes, fonts, and finishes
Often a separate accessory purchase
Specified with the unit, 5 to 12 in, one height and font
Replacement in year six
Almost never matches
Line or finish may be discontinued
Reordered from the same approved spec, so it matches
Board or ARC documentation
Nothing to review
A catalog page
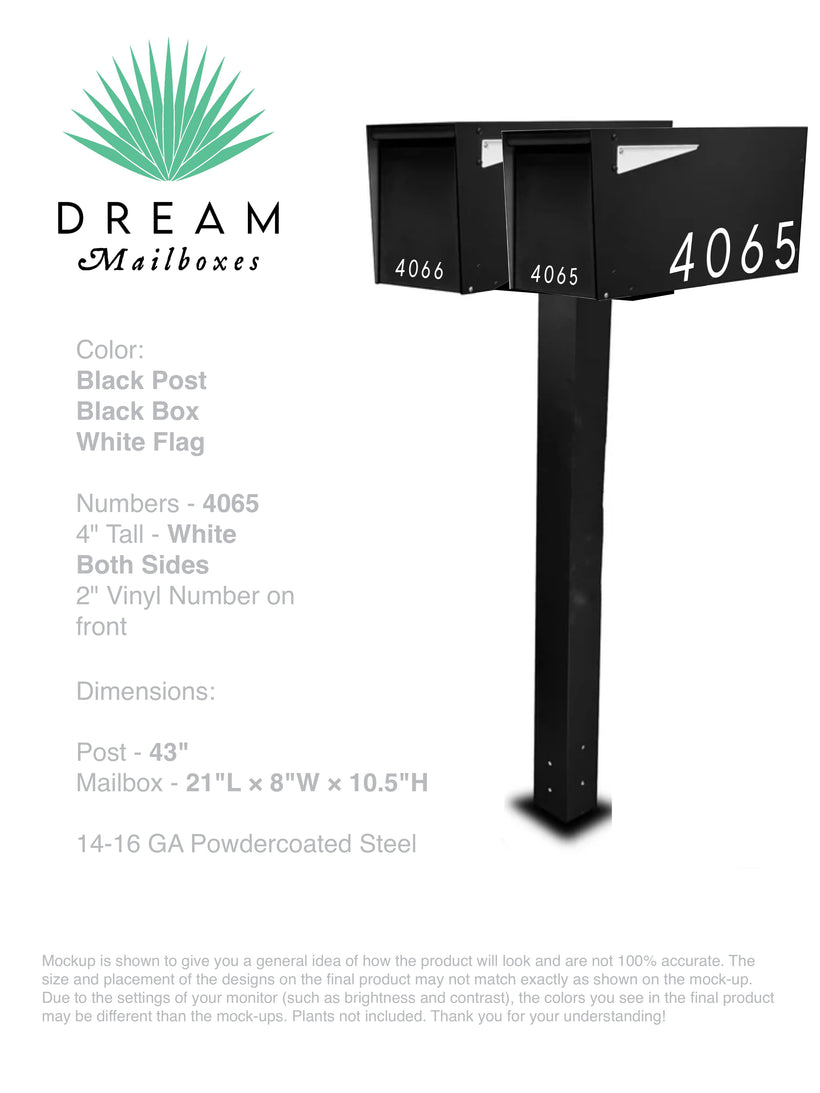
Spec sheets plus an approved mockup before anything is built
Installation
Owner's problem, owner's result
Boxes arrive, you find a trade
Nationwide professional install, post set in concrete over a 4-in footer
Accountability
Spread across every address
Split between seller and installer
One vendor, one 1-year warranty on the build
"The managers who never call us about mismatched mailboxes are the ones who wrote the color, the digit height, and the install depth into the spec before phase one. Everyone else calls us in year four."
Dream Mailboxes team
Every community order starts with a mockup the board approves before we build, so the spec sheet and the object on the curb are the same thing.
Planning for replacements years later
This is the part that separates a standard that holds from one that looks good at ribbon cutting. Mailboxes get hit. Plows, delivery trucks, teenagers, a moving van taking a corner short. Across 300 homes, you will replace units every year, forever, and the question is whether those replacements match.
Why made to order is an advantage here, not a delay
Counterintuitive, but true. A stocked product can be discontinued, restyled, or quietly changed between production runs, and when that happens your spec is dead and nobody told you. A unit built to order from an approved spec can be rebuilt from that same spec later. The file, not the warehouse, is what persists. That is the practical reason a custom maker is the safer choice on a long-lived community standard, and it is worth saying plainly because "custom" usually sounds like the opposite of "reliable supply."
Keep replacement stock, and keep the file
Two concrete habits. First, order a small number of spare units with phase one and store them. The marginal cost is low against the cost of a street sitting mismatched for three weeks, and it turns a replacement from a procurement exercise into a work order. Second, keep the documentation package where your successor will find it: the spec sheet, the approved mockup, the color sample, the digit height and font, the install detail, and the vendor contact. Property managers turn over. Specs that live only in one person's email do not survive that.
Standard lead time on a made-to-order unit runs about two to three weeks, which is a reasonable planning number for both replacements and phased rollouts. Build that into your reserve schedule rather than treating each damaged box as an emergency.
Phasing across 50 to 500 homes
Few communities replace every mailbox in one week, and they should not try. Phase by street or by section, finish each section completely before starting the next, and resist the temptation to split a street across two phases. Partial streets are what generate owner complaints, because the comparison is right there in the neighbor's yard. A completed street reads as progress. A half-done one reads as neglect.
For communities still in construction, get the standard into the builder's scope before the next phase breaks ground. Retrofitting uniformity costs more than specifying it, every time. There is more on holding one look across an entire neighborhood in our guide to HOA-compliant community mailboxes.
Getting it approved and installed
You can have the right answer and still lose six months to process. Two things move approval: documentation the board can actually read, and a vendor structure that does not leave obvious gaps for a skeptical committee to poke at.
The packet
Boards approve what they can see and verify. A useful packet includes the spec sheet for the unit, the finish sample or documented color, the address number height and font, the install detail including height and setback with the USPS reference, a photo or rendering of the unit as it will actually appear, the per-unit and per-install cost, and the phasing plan with dates. Dream Mailboxes provides spec sheets specifically for board and ARC approval, which saves you from assembling one out of product photos and guesswork. If your committee has rejected a submission before, our guide on getting a custom mailbox HOA-approved walks through what a passing submission contains.
Include the mockup. An approved design mockup before anything is built is the single most effective thing for a nervous board, because it converts the decision from "trust the description" to "approve this image." It also protects you. If the mockup was approved and the delivered units match it, there is no argument to have later.
Handling owner pushback
Expect some, and expect it to be about two things: cost allocation and the owner who likes their current mailbox. On cost, the phasing plan and the replacement-matching argument do most of the work, because owners understand that a standard protects their own resale comparison. On the attached owner, the uniform spec is the answer, not a negotiation. Granting one exception is how standards die. It is easier to hold the line when the documentation is specific, because then the rule is a document rather than a judgment call about taste.
One vendor for design, build, and install
On a community program, the strongest operational argument is that the same company designs, builds, and installs. Installation is priced at $499 for a standard unit, $699 for a pillar, and $799 for extra-large, and the crew sets the post in concrete roughly two feet deep over a 4-inch footer, finishes the base with a decorative rock bed, places the box inside the USPS height and setback window, and resets or replaces the existing post while they are there. Shipping is free nationwide and installation is nationwide, so a community spread across phases or a manager handling several properties is not re-solving the vendor question every time.
The reason this matters for you specifically is accountability. When a box, a post, and an install come from three sources, a leaning mailbox becomes a three-way conversation you have to referee. When one company did all three under a 1-year warranty on the build, there is one phone number. That is the recommendation, plainly: for a community standard, buy from a maker who builds to spec and sets it themselves.
What should a community mailbox spec actually include?
The product line and material, unit dimensions and door style, the documented color and finish, address number height and typeface and placement, the post style, the install detail including concrete depth and the USPS height and setback window, and the ground treatment at the base. Anything you leave out is something a future installer will decide for you.
Can mailbox color be matched to our existing community palette?
Yes. Because every unit is built to order, the finish can be matched to the colors already on your trim, shutters, light posts, or monument signage rather than chosen from a stocked list. Put the sample outside at the real location and look at it twice before approving it.
What happens when one mailbox gets damaged years later?
You reorder the same unit from the same approved spec, and it matches the originals, because each one is made to order rather than pulled from a stock run that may have changed. Standard lead time is about two to three weeks. Many managers also keep a small number of spare units on site so a damaged box becomes a work order instead of a purchase cycle.
How long does a community order take, and can we phase it?
Standard lead time runs about two to three weeks, and phasing is normal on communities of 50 to 500 homes. Phase by complete street or section rather than splitting a street, since partial streets are what generate owner complaints.
Who handles installation across a large community?
Dream Mailboxes installs nationwide, so the same vendor that builds the units sets them. Install is $499 standard, $699 pillar, and $799 extra-large, with the post set in concrete about two feet deep over a 4-inch footer, placed to USPS height and setback, finished with a decorative rock bed. Existing posts are replaced or reset as part of the work.
Dream Mailboxes Team
Custom & modern mailboxes, built for the curb
We are a family-founded, USA-made custom maker that designs, hand-builds, and professionally installs mailboxes nationwide. For communities, we provide spec sheets for board and ARC approval, match custom colors to an existing palette, and build every unit to order from the same spec so later replacements match.


 Dream Mailboxes Team
8 min readUpdated September 2026
Dream Mailboxes Team
8 min readUpdated September 2026