How a Mailbox Is Professionally Installed: Concrete Footing, Setback, and Rock Bed
The method, step by step, so you know what a correct install looks like and why a leaning box costs you deliveries.
Dream Mailboxes Team6 min readUpdated July 2026
A box that stays plumb for years starts below ground, not at the door.
The short answer
A mailbox that won't lean is set in concrete about two feet deep, on a four-inch concrete footer, with the box at USPS height and setback and a decorative rock bed to finish the base. That's exactly how Dream Mailboxes' nationwide professional install works, and you can preview the whole method in our install instructions. Tamping a post into loose dirt is faster, but it's also why so many boxes tilt.
You bought a mailbox you actually like. Now it has to stand up straight through freeze after freeze, lawn mower after lawn mower, and the occasional bump from a delivery truck. The part that decides whether it stays plumb isn't the box. It's what happens in the hole.
Why a leaning box is more than an eyesore
A tilted or badly placed mailbox isn't just ugly. It's a delivery problem. The U.S. Postal Service's mailbox guidelines expect the box to sit at a specific height off the road and a specific distance back from the curb so a carrier can reach it from the vehicle. When a post leans, the door swings to the wrong height, the flag falls out of reach, or the box drifts past the setback the carrier depends on. Placement is the homeowner's responsibility, and the Postal Service's curbside standards (DMM 508) spell out the target.
41–45 inUSPS's expected height from the road surface to the bottom of a curbside box, set 6–8 inches back from the curb face. A post that leans quietly walks the box out of that window.
Source: USPS — Mailbox Guidelines
Two forces cause the lean. The first is soil that never held the post tight to begin with, so it rocks a little more every season. The second is frost heave: water in the ground freezes, expands, and lifts anything shallow. A post buried a few inches into loose dirt has nothing to resist either one. The fix is depth and a footing.
The install, step by step
Here's what a proper concrete-set install actually involves. It isn't complicated, but each step is doing real work.
1. Set the post about two feet deep
The hole goes down roughly 24 inches. Depth matters because most frost action happens near the surface, so getting the base of the post below that zone keeps freeze–thaw from levering it up. A deep post also has far more soil and concrete gripping it, which is what stops the slow seasonal wobble that ends in a lean.
2. Pour a four-inch concrete footer
Under and around the post goes a four-inch-thick concrete footer. Think of it as a foot: it spreads the load out, locks the post against side-to-side movement, and gives the whole assembly a stable base to sit on instead of bare earth. Concrete is what turns a post-in-a-hole into a post that doesn't move.
3. Plumb the post and set the box to spec
While the concrete is workable, the post is leveled true and braced so it cures perfectly vertical. Then the box is mounted so its bottom lands in that 41–45 inch window and 6–8 inches back from the curb. Get this right once and the carrier never has to think about it again.
4. Finish with a decorative rock bed
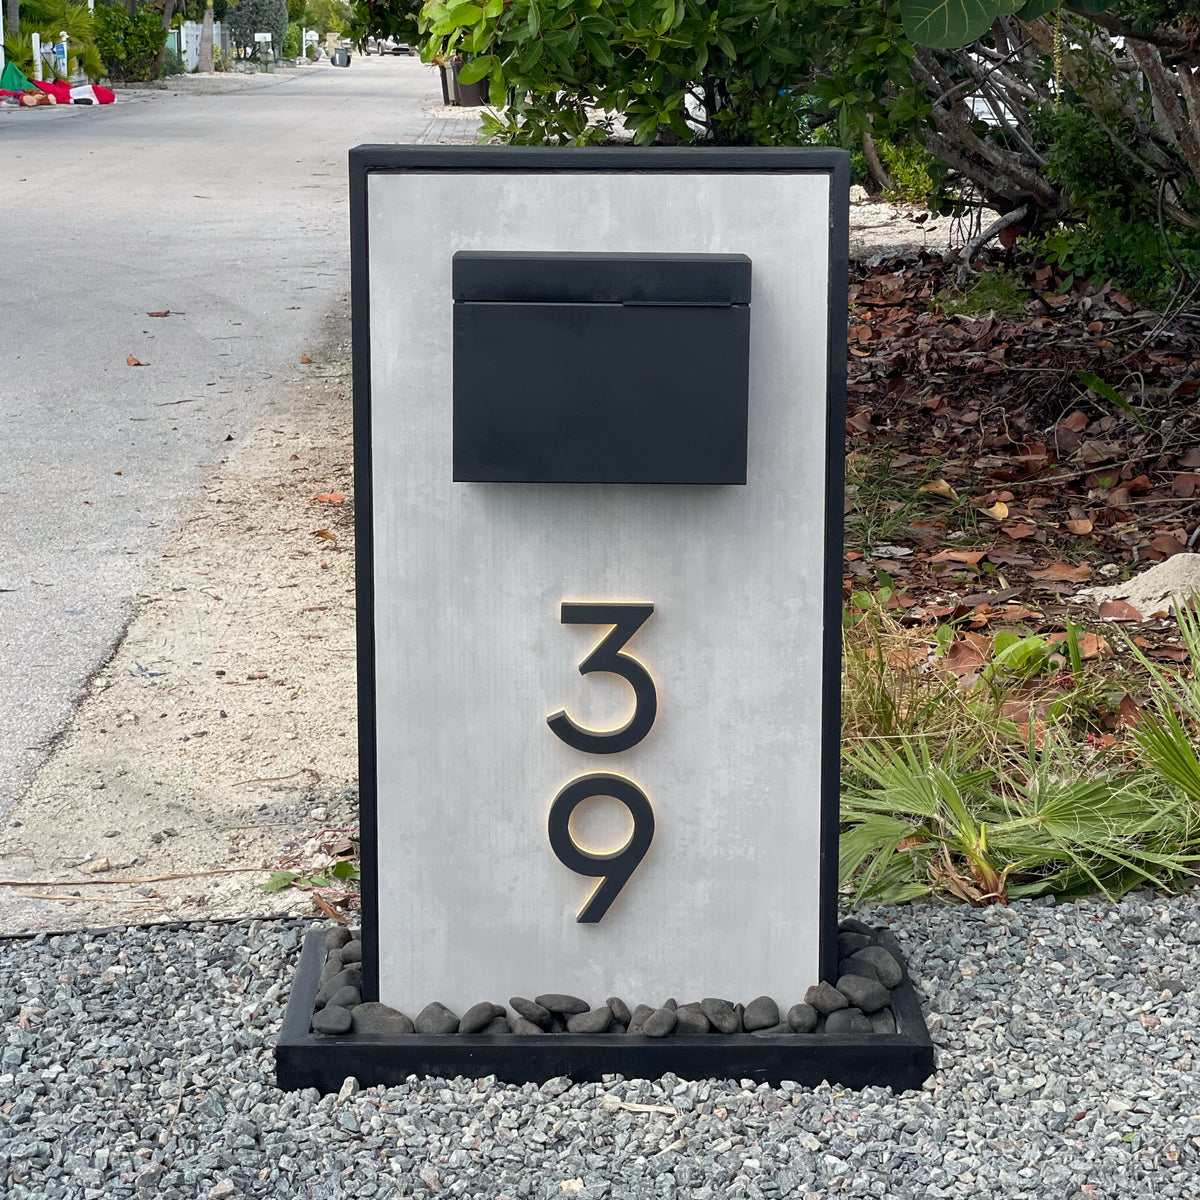
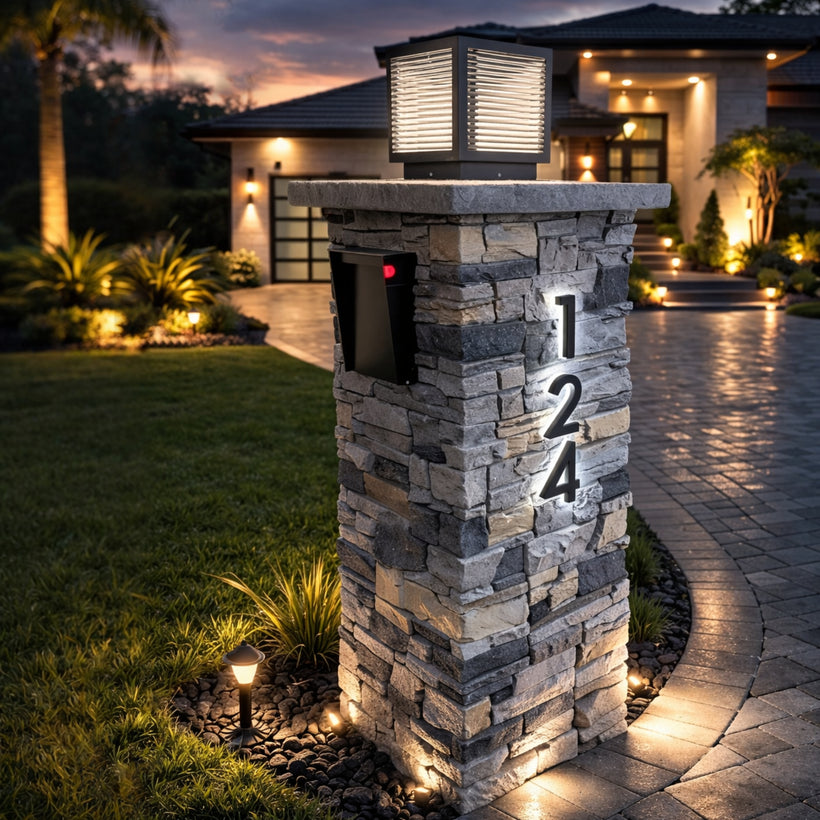
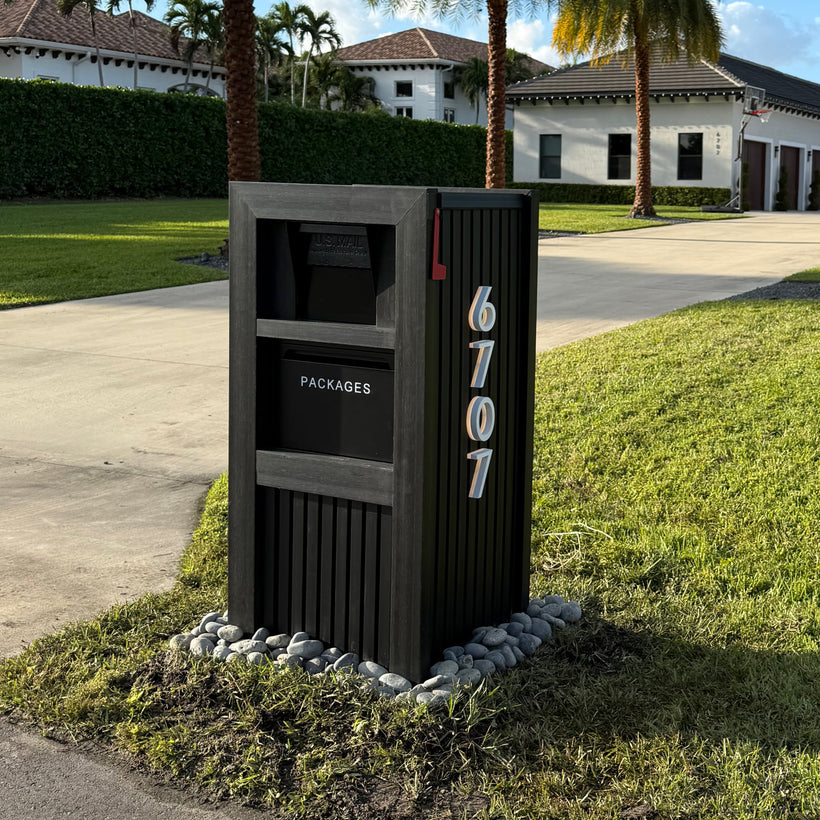
The last step is a rock bed around the base. It hides the concrete collar, keeps mower blades and string trimmers away from the post, and helps water drain away from the footing instead of pooling against it. It also just looks finished, which is the point of buying a nice box in the first place.
DIY tamped-in post
RecommendedConcrete-set install
Stability
Held by packed soil; rocks loose over time
Locked by a footer; stays plumb
Frost heave
Shallow post lifts as the ground freezes
Depth + footer resist heave
Longevity
Often needs re-setting after a few winters
Set once, stays put for years
Placement accuracy
Easy to drift out of USPS height/setback
Braced true to 41–45 in and 6–8 in
Finish
Bare post at the dirt line
Decorative rock bed at the base
Best for
A quick, temporary fix
A box you want to keep straight
"A mailbox that leans almost never failed at the box. It failed in the hole, too shallow and no footer."
— Dream Mailboxes install team
A clean post line is the payoff of a proper footing: no wobble, no lean, no re-setting next spring.
The practical recommendation
If you want the box to stay straight and stay deliverable, set it in concrete on a footer and finish it right. That's a real job with a mixer, a level, and a cure time, which is exactly why we offer it. Dream Mailboxes installs nationwide, and few mailbox makers install at all. Our crews set the post about two feet deep, pour the four-inch footer, plumb the box to USPS height and setback, and lay the decorative rock bed, so the box you approved in your design mockup ends up straight at the curb.
New box, want it done once: book professional installation and skip the guesswork on depth and setback.
Heavier pillar or stone box: a faux marble pillar especially wants a real footing, since you can't nudge it after it cures.
Prefer to DIY: follow our install instructions, dig to depth, and pour a footer rather than tamping soil.
Existing box that leans: it's almost always the base, not the box; re-set the post in concrete to fix it for good.
About two feet. Setting the base of the post roughly 24 inches down puts it below most frost action and gives the concrete and soil enough grip to keep it from rocking loose. Pair that depth with a four-inch concrete footer, which is how our professional install sets every post.
How do I install a mailbox post so it won't lean?
Set it in concrete, not tamped dirt. A leaning post usually comes from a shallow hole with no footer, so water and frost lift it and loose soil lets it wobble. Dig to about two feet, pour a four-inch footer, brace the post plumb while it cures, and finish with a rock bed. Our install instructions walk through it.
What height and setback does USPS want?
The bottom of a curbside box should sit 41–45 inches above the road and 6–8 inches back from the curb face, per USPS guidelines. Placement is the homeowner's responsibility, so a professional install braces the box to those numbers before the concrete sets.
Why does a footer stop frost heave?
Frost heave happens when water in the soil freezes and expands, lifting anything shallow. A post set about two feet deep on a four-inch footer reaches below most of that action and spreads its load, so the freeze–thaw cycle has far less to push against.
What is the rock bed for?
The decorative rock bed around the base hides the concrete collar, keeps mowers and trimmers off the post, and helps water drain away from the footing instead of pooling against it. It's the finishing step on a professional install, and it makes the whole thing look intentional.


 Dream Mailboxes Team
6 min readUpdated July 2026
Dream Mailboxes Team
6 min readUpdated July 2026