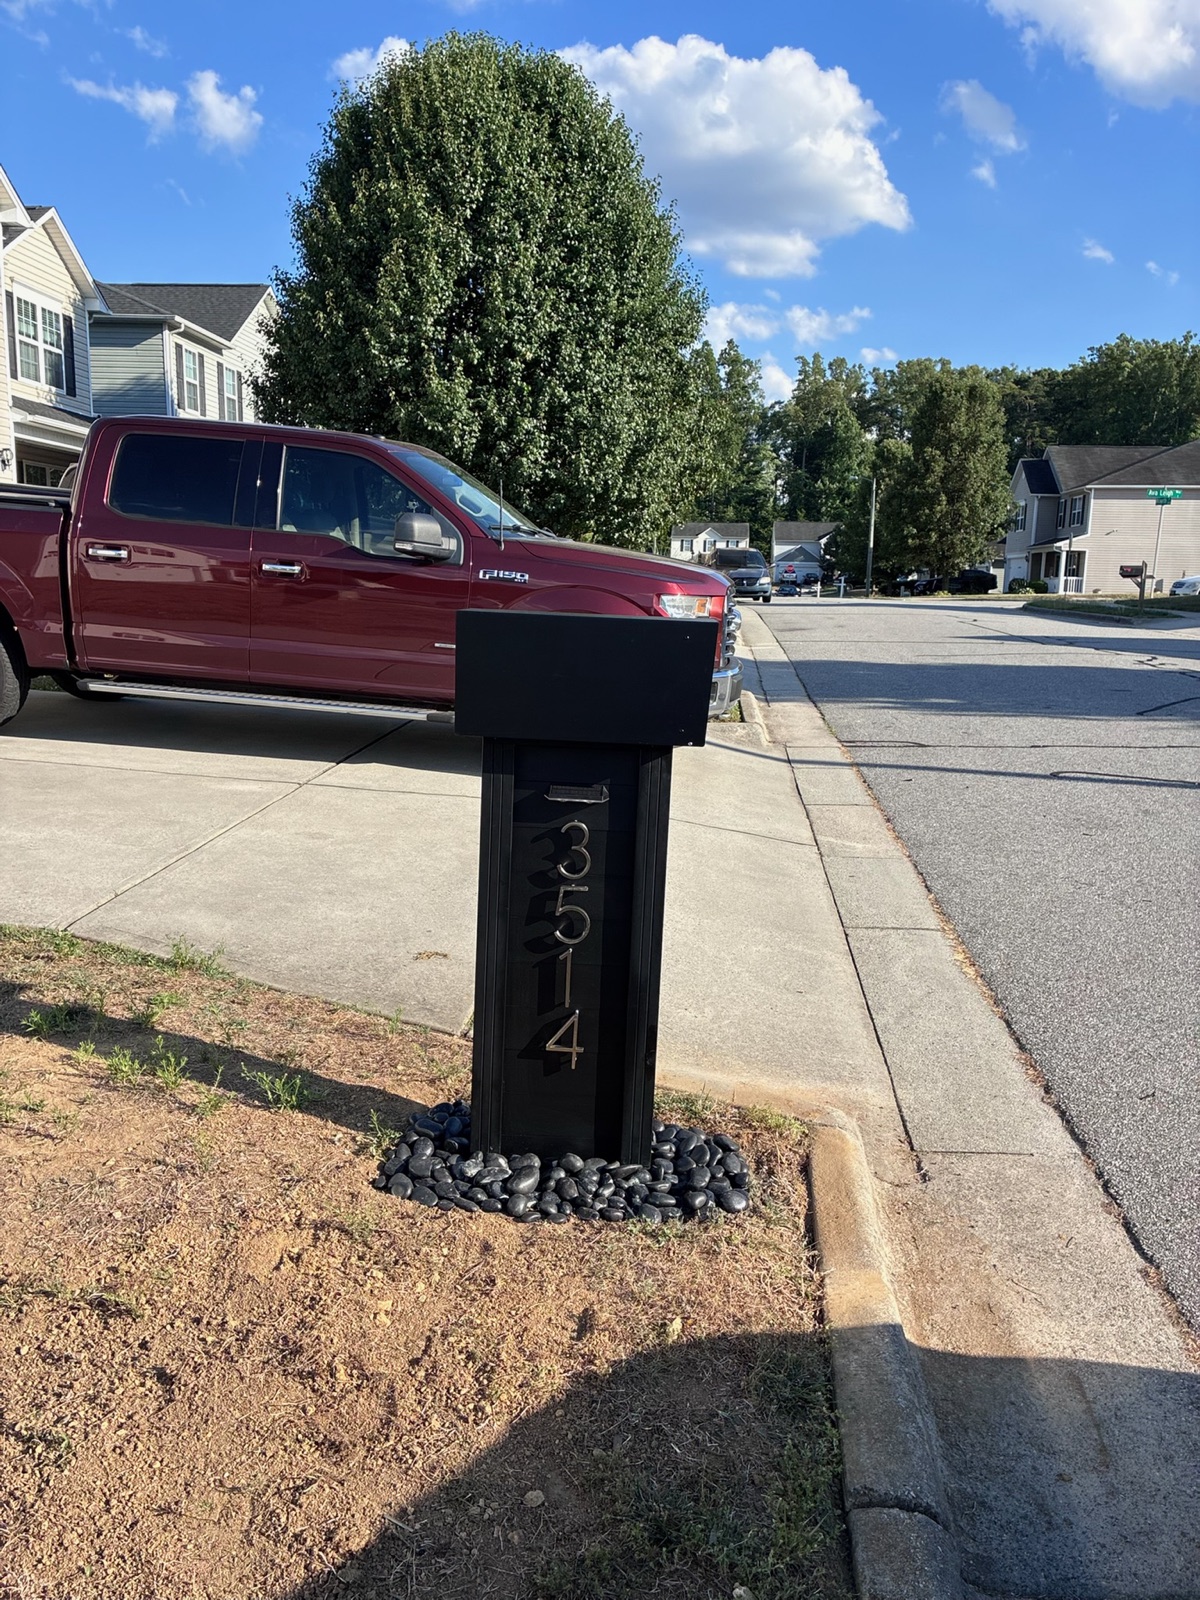
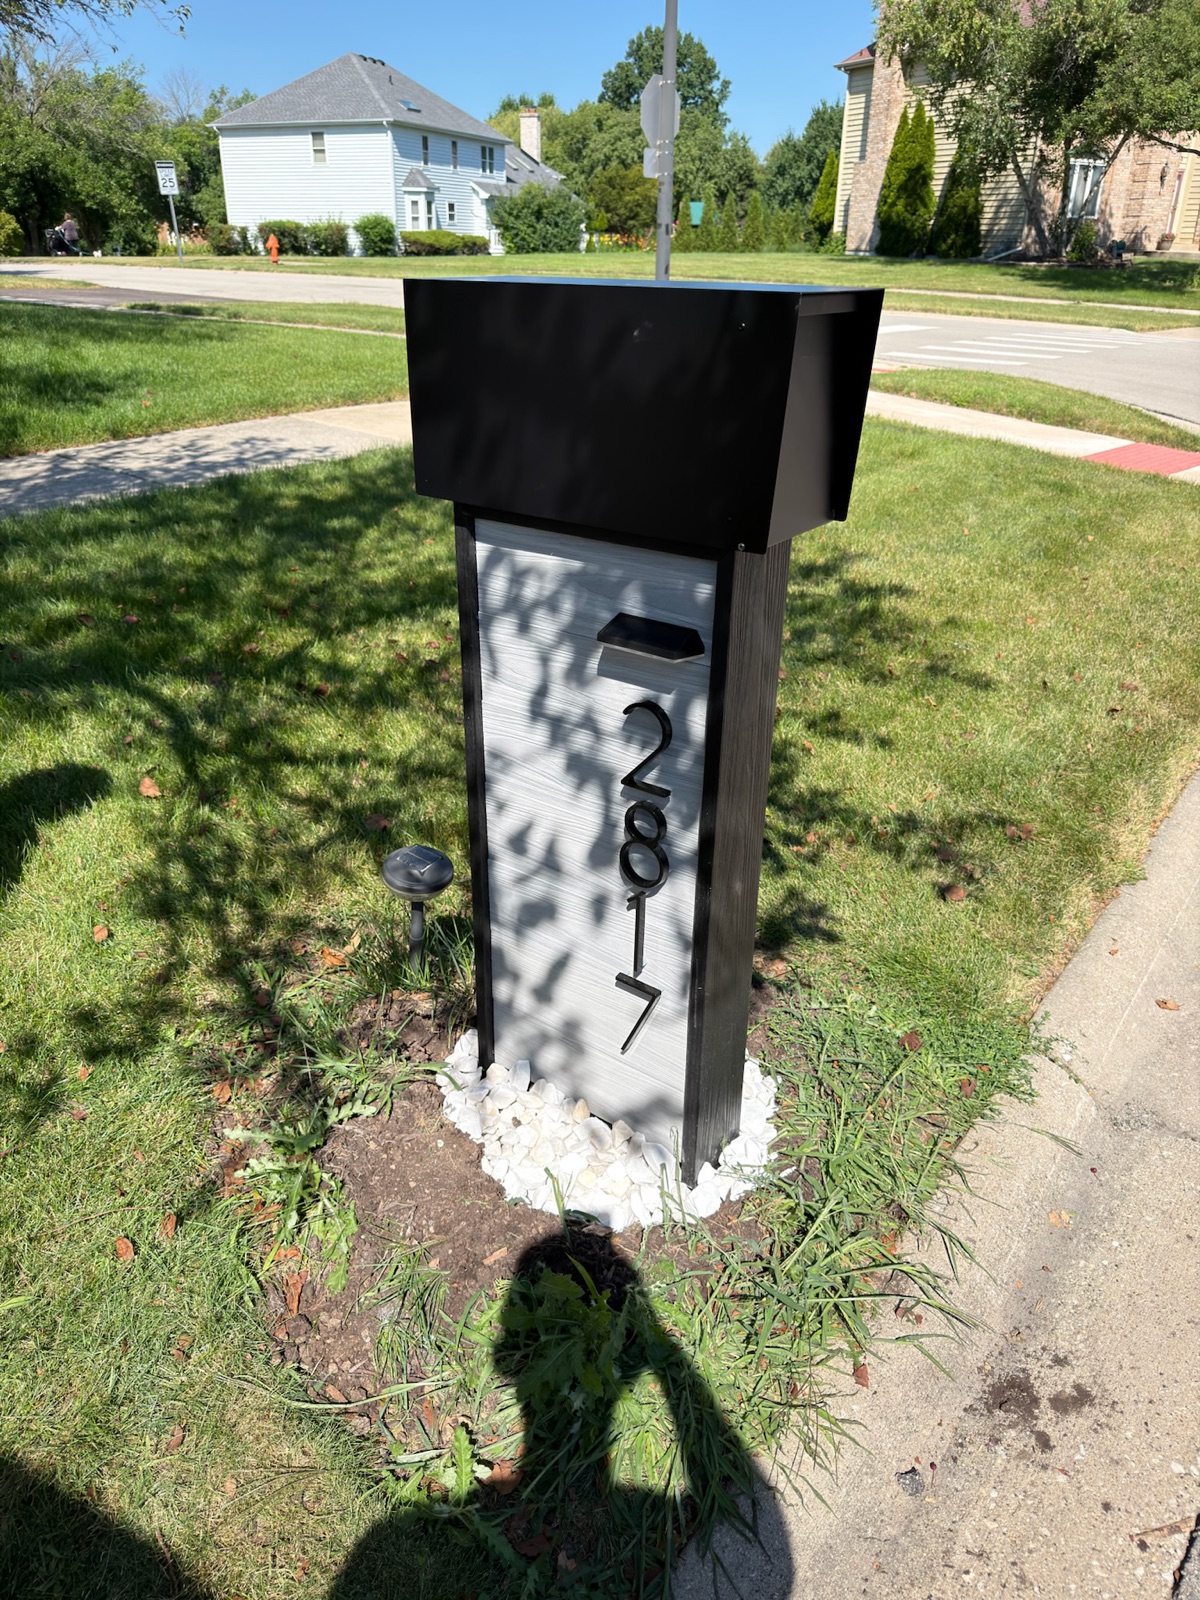
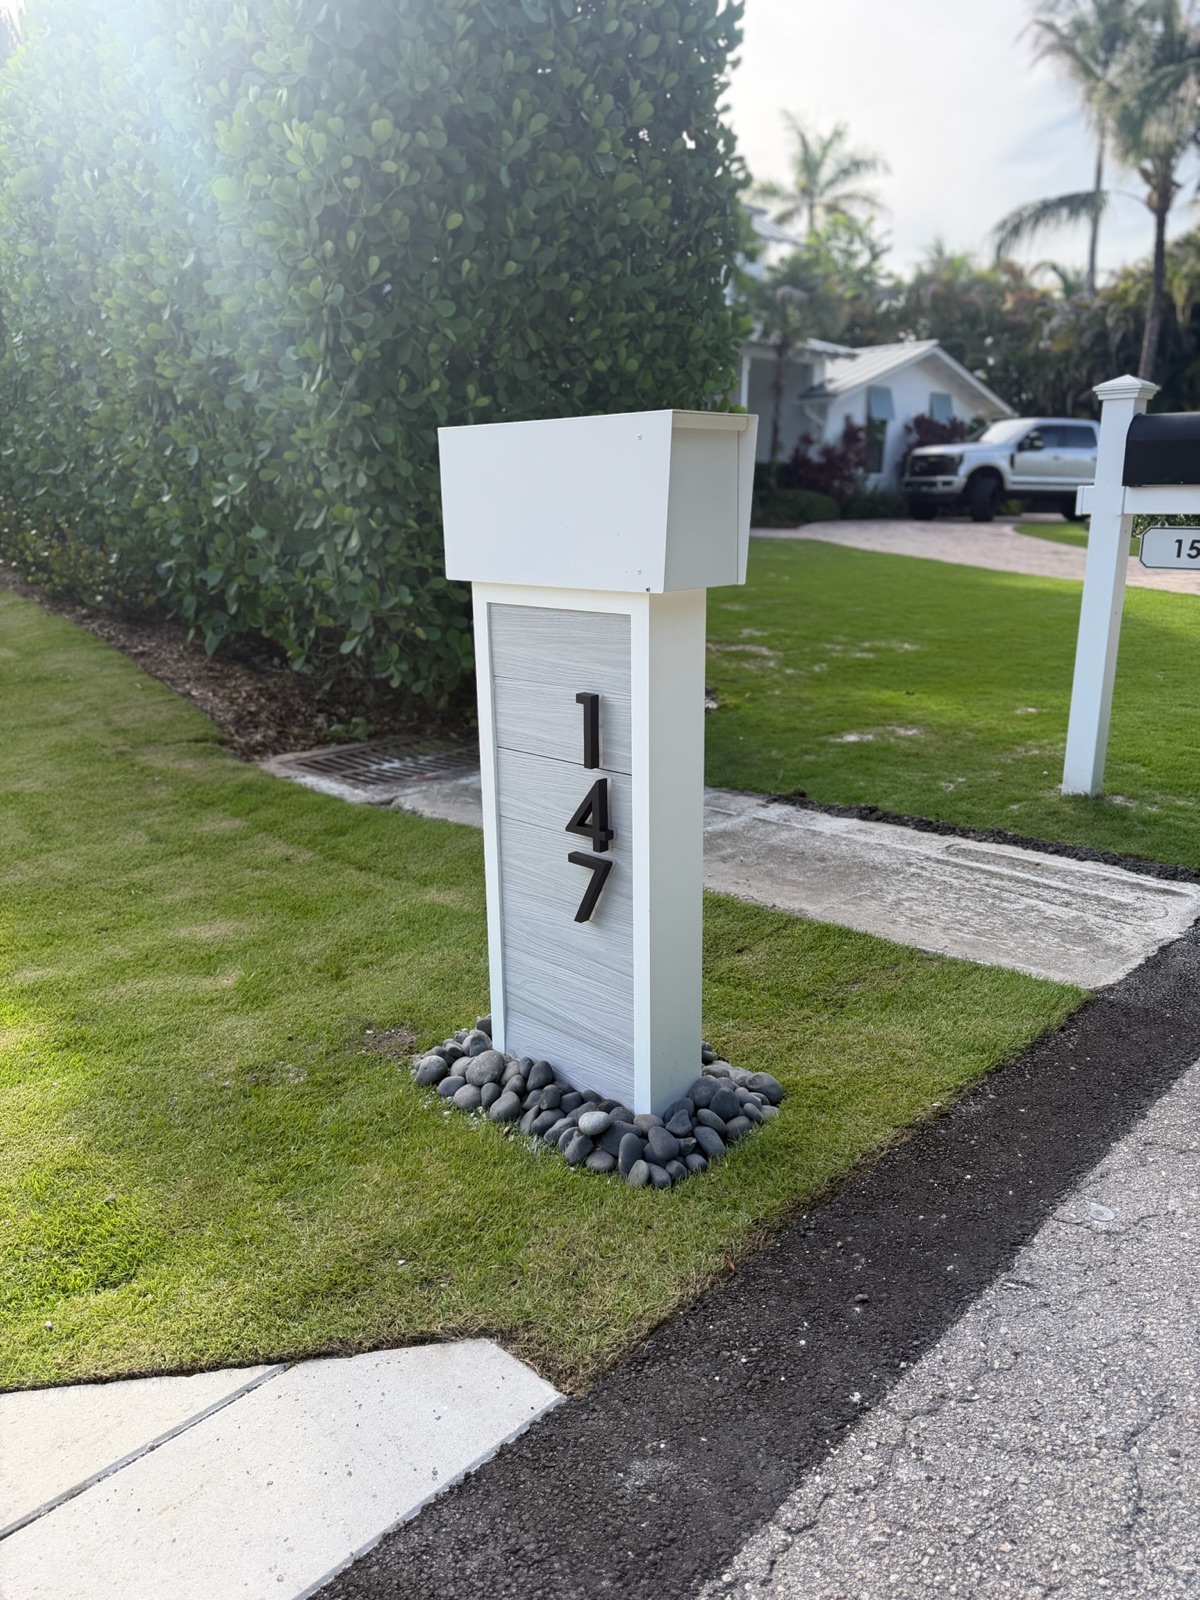
The last hour of a community mailbox install decides how the board feels about it for the next ten years. Here is what to inspect, what tolerance to hold, and what to keep unpaid until the list closes.
Dream Mailboxes Team8 min readUpdated September 2026
The walk that matters happens while the crew is still on site and the truck is still loaded.
The short answer
Dream Mailboxes installs mailboxes for a whole neighborhood, with design, build, and installation handled by one vendor, so the punch walk at the end is a conversation with the crew that set the posts rather than a dispute between a supplier and a separate contractor. Walk the route with the crew lead before the truck leaves, hold each box to the target height your spec named rather than anywhere inside the USPS 41 to 45 inch window, and keep a retainage until every item on the list is signed closed.
Most community mailbox projects go wrong in the last two hours. The boxes are right, the posts are set, the crew is tired, and somebody on the board is standing in a driveway being told that everything looks great. It does look great. Ninety of the ninety four are perfect. The four that are not will generate emails for six months, and by then the crew is three states away and the final invoice has already cleared.
A punch walk is the cheap insurance against that. It takes one person an hour and a half on a hundred door community, it costs nothing, and it is the only moment in the whole project where you have both the condition in front of you and money still in your hand. Boards that skip it almost always pay for the skip later, usually in service calls they end up funding themselves.
A punch walk checks condition. The closeout file holds records.
These get confused constantly, so it is worth separating them before anything else. The punch walk is about what is physically in the ground right now: is that post plumb, is that number crooked, did anyone rake the dirt back. It is a condition inspection, and it expires. Walk it two weeks after the crew leaves and half your findings become arguments about whether a resident backed into the post.
The closeout package is paper. Approved spec sheet, color formula, model and finish per address, the exception list, warranty terms, and the contact to call in year three when a truck takes one out. That file has no expiration and it does not care what condition anything is in today. You need both, and they are collected at different moments by different people. The walk happens on the last install day. The file gets assembled in the week after.
One practical consequence: do not let a vendor hand you a thick binder and call it acceptance. Records are not condition. Sign the binder receipt separately from the punch sign-off.
Who walks it, and when
Two people. The crew lead from the install vendor, and one person from the association side who has authority to say the word "accepted" and mean it. That is usually the property manager or a single board member designated for the project. Do not bring a committee. A committee on a punch walk turns into a design review, and you will spend forty minutes relitigating the finish color that the board already approved in the mockup stage.
Timing is the part most associations get wrong. The walk happens on the final install day, after the last post is set and before the crew loads out. Concrete is still curing, the truck still has spare hardware, and the person who set every one of these posts is standing next to you and remembers which addresses were odd. That combination never exists again.
If the install ran across multiple days, walk each day's section at the end of that day rather than saving all of it for the end. On a large community that means three or four short walks instead of one long one, and the short ones catch a systematic error early. A crew setting boxes an inch low on Tuesday will keep setting them an inch low on Wednesday unless somebody says something Tuesday afternoon.
Height: check against the target, not the window
USPS expects the bottom of a curbside box to sit 41 to 45 inches above the road surface, set 6 to 8 inches back from the curb face. That is a four inch window, and here is the trap: a community where every box is legally inside the window can still look wrong. If one box is at 41 and the next is at 45, both pass and the row reads as sloppy from the street. Four inches of variation over a fifty foot gap is visible to anyone driving past.
So the spec should name a single target, say 43 inches, and the punch walk measures against that target with a stated tolerance. Half an inch either side is a reasonable hold for a community install on a real street with real curb variation. If you wrote the target into the spec sheet, the walk is simple arithmetic. If you did not, you are now negotiating a standard with the crew after the concrete has gone off, which is a bad time to negotiate anything.
41 to 45 inThe USPS window from the road surface to the bottom of a curbside box, with a 6 to 8 inch setback from the curb face. Every box has to land inside it. A community spec should pick one number inside that window and hold all of them to it.
Source: USPS Mailbox Guidelines
Measure from the road surface, not from the top of the grass and not from the sidewalk. On a street with a pronounced crown or a steep gutter pan, the measurement point matters by an inch or more, so agree with the crew lead on where the tape touches down before you start. Write that down too. Two people measuring the same box from two different reference points is the single most common source of a false punch item.
You do not need to tape every box. Tape the first ten, and if they are all within tolerance, the crew's method is sound and you can move to spot checks of one in five plus anything that looks off by eye. If two of the first ten miss, tape all of them. The method is what you are testing, and it is either working or it is not.
Put the level away for this one. Bring it, use it on anything suspicious, but the real test for plumb across a community is to stand in the street at one end of a straight run and sight down the row. Your eye is extremely good at catching a post that is a degree off when it has ten neighbors to compare against, and extremely bad at judging a single post in isolation.
Sight each straight run from both ends. A post can read plumb from the north end and lean visibly from the south, because you are only seeing one axis at a time. Two passes takes another ten seconds per run and catches the side-to-side lean that a single sighting misses entirely.
On a cul-de-sac, stand at the mouth and look at the homes around the turnaround as a group. The boxes there sit on a curve, so they will never line up the way a straight run does, and the thing to check instead is that each one faces the road squarely rather than pointing at the house across the way. Face angle on a curve is a judgment call, which is exactly why it belongs on a walk with the crew lead present rather than in an email two weeks later.
Setback, and the curb that is not there
The 6 to 8 inch setback is measured from the curb face to the closest point of the box rather than to the post. On a box with a deep body or a forward-mounted newspaper holder, those are two different numbers and the box is the one that counts.
Communities with no curb, a rolled curb, or an open swale need a decision written into the spec before install day, because there is no curb face to measure from. Pick a reference, usually the edge of the pavement, and hold everything to it. The punch walk then verifies against that written reference. Without one, every address becomes its own conversation and the row will visibly wander in and out.
Numbers: alignment and spacing
House numbers are where a good install gets undone. The posts can be perfect and the community still reads as amateur work because the numerals sit at four different heights and three different spacings.
Check three things at each box. First, vertical placement: the number band should sit at the same height off the box on every unit. Second, horizontal centering, which is obvious on a three digit address and easy to miss on a four digit one where the crew ran out of room and shifted everything left. Third, letter spacing, especially where a "1" sits next to a wider numeral and the optical gap opens up.
Number size belongs in the spec rather than on the walk. Dream Mailboxes builds numbers from 5 to 12 inches, and a community should settle on one size at the specification stage and keep it in the approved file. If the walk turns up a box where somebody substituted a different size because the right one was short in the truck, that is a replacement item, not a tolerance discussion. Our guide to specifying house numbers in an HOA standard covers how to write that so it does not get improvised on site.
Sign off on the crew's word
Board member spot checks later that week
What we recommendDocumented walk with the crew lead, same day
When it happens
At the invoice, after the truck has left
Three to six days after the last post is set
Final install day, before load-out
Who is present
Nobody on site
One board member, alone
Crew lead plus one authorized association rep
Fixing a finding
A scheduled return trip
A scheduled return trip
Often same day, hardware still on the truck
Disputed items
Vendor's account versus resident's
Was it the install or a resident backing in
Both parties saw it, so it does not get argued
What you still hold
Nothing
Whatever you happened to withhold
A defined retainage tied to a written list
Typical outcome
Findings become owner complaints
Half the list gets waived to avoid a trip
List closes in days, acceptance is clean
"The punch walk we want is the one where somebody stands in the street and sights down the row before they open a tape. Thirty seconds tells you more about that install than an hour at a single box."
Dream Mailboxes install team
Consistency across a run is what residents actually notice. A single box inside the legal window but two inches off its neighbors reads as a mistake.
Doors, latches, and the flag
Open and close every door. All of them, no sampling. It takes two seconds per box and it is the item most likely to generate a resident call in week one, because it is the only part of the install a homeowner touches daily.
What you are checking: the door swings without catching on the body, the latch engages and holds rather than sitting closed by friction, the hinge has no play, and on a locking or vault model the key turns in both directions and the cylinder is not stiff. If the community was keyed, confirm the key handed to each resident actually operates that box rather than the one next door.
Check the flag on every box that has one. A flag that will not stay up is a warranty item, and it is much easier to swap on the day than to schedule a truck for it in November.
The ground around the post
A post set roughly two feet deep in concrete over a 4-inch footer leaves a mess behind it. That is normal. The question on the walk is whether the mess was cleaned up.
The rock bed should be even, at a consistent diameter across the community, and free of the concrete spatter that comes off a wheelbarrow. Compare a few beds side by side rather than judging each alone, since the diameter is a thing the eye tracks down a row the same way it tracks height.
Disturbed ground around the bed should be raked flat and the sod either replaced or tamped back. Check for spoil piles left behind a tree or pushed into a neighbor's bed, tire ruts where the truck parked on wet turf, and irrigation heads that were clipped by the auger. The irrigation one is worth deliberate attention, because it stays invisible until the next watering cycle and then becomes an expensive argument about who owns it. Walk the bed line, look for a head within two feet of any new post, and note it while the crew is still there.
Old posts and debris
On a replacement program, the old posts have to actually leave. Count them. The failure mode is a handful of old units stacked behind the clubhouse or left at the curb for a bulk pickup that was never scheduled, and the association ends up paying disposal on something the install contract covered.
Same for the packaging. New boxes arrive wrapped, and that wrapping plus the old concrete plugs adds up to real volume on a large community. The contract should say removal is included. The walk is where you confirm it happened.
The addresses that were exceptions
Every community install produces exceptions. A corner lot where the mailbox has to sit back from a sight triangle. A house on a steep drive where the 43 inch target lands somewhere strange relative to the driveway. A resident who was out of town, or one who refused access, or an address where a drainage structure sits exactly where the post wanted to go.
Get the exception list from the crew lead verbally during the walk, then verify each one on foot. This is the highest value ten minutes of the whole exercise, because exceptions are where a reasonable field decision by a crew becomes a board decision nobody made. Somebody decided to set that box at 40 inches to clear a drainage swale. That may be the right call. It needs to be a written, accepted call with a reason attached, not a surprise that turns up in a USPS conversation later.
Anything you accept as an exception goes into the closeout file with the reason. Anything you do not accept goes on the punch list as a correction. Do not leave any address in between.
Recording it so it holds up
The list has to be by address. A punch list organized by finding type ("six boxes low") is useless a week later when a crew comes back and nobody knows which six.
A workable record is a single sheet or spreadsheet with a row per flagged address: address, finding, photo, who observed it, and a status column. Photograph everything you flag, wide enough to show the box in its setting and close enough to show the defect. Two photos per item, not one. A close-up of a crooked number with no context is hard to match back to an address three days later.
Both parties sign the list at the end of the walk. The signature fixes scope rather than assigning blame. It settles what the remaining work is, so a return trip does not turn into a renegotiation. Send a copy to the vendor the same day, from an email address that belongs to the association rather than a personal one, so it lands in the association's own records.
Set a re-walk date on the spot, usually within ten business days. The re-walk covers the flagged addresses only.
What to hold back
Retainage is what makes the list close. Withhold a defined percentage of the final invoice, commonly five to ten percent, and release it when the re-walk confirms every flagged item is corrected. Say this in the contract before the project starts. Announcing a withholding on the last day, when the vendor priced the job expecting payment on completion, is a way to sour a relationship you are going to need for warranty service.
Size it sensibly. A retainage large enough to matter and small enough to be fair keeps the crew motivated without making the vendor finance your project. If the punch list is short, say four items on a ninety unit community, it is reasonable to release most of the retainage and hold an amount tied to the actual remaining work.
Keep warranty separate from retainage. A 1-year warranty covers defects that show up later. Retainage covers work that is visibly incomplete today. Releasing the retainage is not a waiver of the warranty, and it is worth saying that in writing so nobody treats final payment as the end of the vendor's obligations.
Who to hire so the walk is short
The length of your punch list is decided months before the walk, at the point you choose a vendor structure. A ship-only supplier plus a local handyman means the person setting the posts never saw the spec sheet and has no relationship with whoever built the boxes. Findings on that job get split: the crooked number is the manufacturer's, the shallow post is the installer's, and the association coordinates between two companies who each have a reason to point at the other.
Dream Mailboxes designs, builds, and installs, which collapses that into one conversation. The crew lead on your walk works for the company that made the box and holds the approved spec sheet, including the height target, the number size, and the color. Install is priced per unit at $499 standard, $699 pillar, and $799 XL, so the scope you are inspecting is the scope you bought. Existing aging posts can be pulled and reset as part of the same program, which keeps old post removal inside one contract rather than becoming a separate cleanup nobody owns.
Two honest tradeoffs. Made-to-order means lead time, roughly 2 to 3 weeks on standard builds and longer on LED or vault models, so a board approving a project in October is not walking it in October. And this is premium work at premium pricing, with mailbox tiers running from around $499 at entry through $899 to $1,499 for core models and up to about $3,900 for statement pieces. A community optimizing purely on unit price will find cheaper. What you are buying at the top end is a spec that survives, a mockup approved before anything is built, and a color formula kept on file so a replacement ordered in year four still matches the row.
One more thing worth stating plainly: USPS placement rules and your association's architectural standard are two separate requirements, and both have to be met. A box can satisfy the Postal Service standards and still violate your ARC guidelines on finish or number style, and the reverse happens too. The punch walk checks both, which is why the person walking it needs the approved spec sheet in hand rather than working from memory.
Dream Mailboxes does. We design, build, and install community mailbox programs nationwide from our South Florida base, so an association does not need a supplier plus a separate installer. Install is priced per unit at $499 standard, $699 pillar, and $799 XL, and existing aging posts can be pulled and reset in the same program.
When should the punch walk happen?
On the final install day, after the last post is set and before the crew loads out. The concrete is fresh, spare hardware is still on the truck, and the person who set every post is standing next to you. On multi-day installs, walk each day's section that same evening so a systematic error gets caught before it repeats.
What height tolerance should an association hold?
Pick one target inside the USPS 41 to 45 inch window, commonly 43 inches, write it into the spec, and hold a tolerance of about half an inch either side. Checking only against the four inch window lets a row pass inspection while still looking uneven from the street.
How is a punch walk different from the closeout package?
The walk inspects physical condition on the day, and it expires quickly. The closeout package is the permanent paper record: approved spec sheet, color formula, model per address, exception list, and warranty terms. Sign the two off separately.
How much of the invoice should we hold back?
A defined retainage, commonly five to ten percent, released when a re-walk confirms every flagged address is corrected. Put it in the contract before the project starts rather than announcing it on the last day, and keep it separate from the 1-year warranty, which covers defects that appear later.
Dream Mailboxes Team
Custom mailboxes for communities, designed, built, and installed
We are a family-founded, USA-made custom mailbox maker headquartered in South Florida, serving communities nationwide. We provide spec sheets for board and ARC approval, keep the approved spec on file so a replacement years later still matches, and install every box we build.


 Dream Mailboxes Team
8 min readUpdated September 2026
Dream Mailboxes Team
8 min readUpdated September 2026