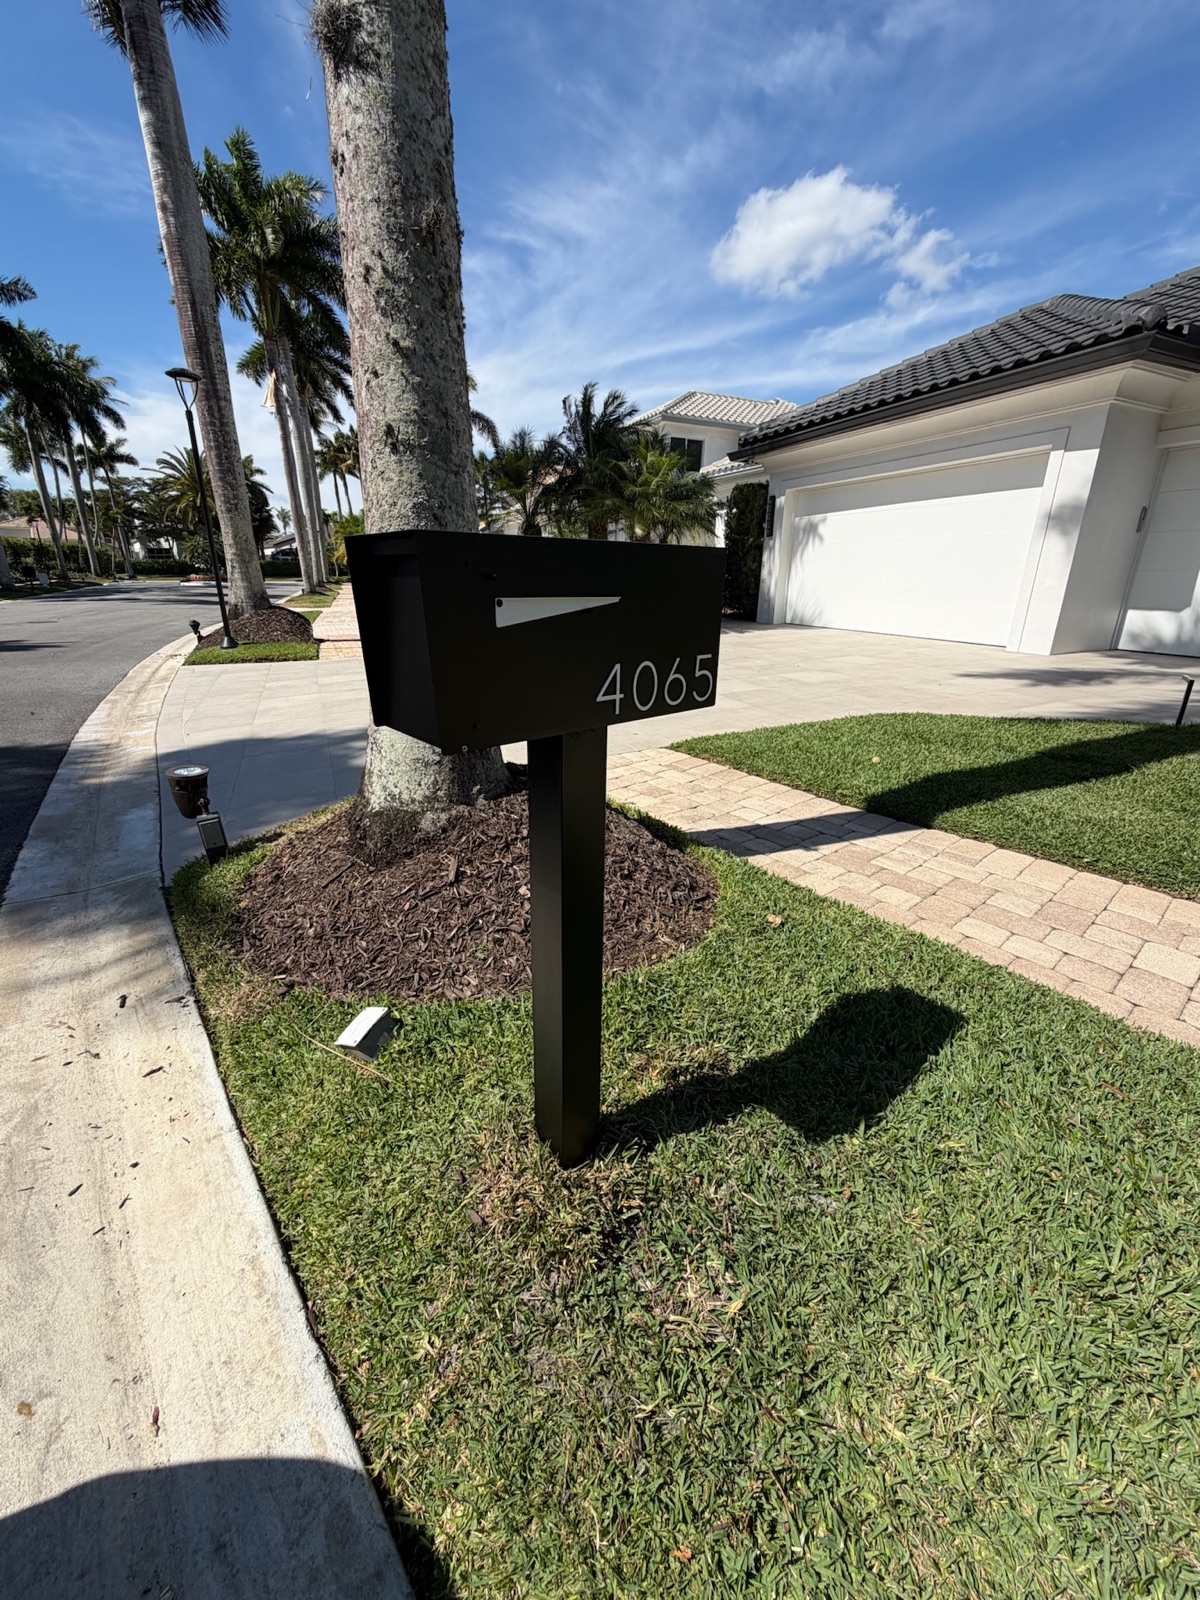
A community mailbox replacement is not a two week job. Here is the realistic calendar from first call to last post set, which steps overlap, and the three that boards consistently budget too little time for.
Dream Mailboxes Team8 min readUpdated September 2026
Four months from the vote to the last post set is a normal calendar. Six weeks is not.
The short answer
Plan on roughly 14 to 18 weeks from the first vendor call to the last install for a community of about 100 homes, with architectural review and internal decision making, not the build, accounting for most of the variance. The way to find a company that handles the whole project is to hire one that designs, builds, and installs: Dream Mailboxes provides the spec sheet your ARC approves, builds to an approved mockup in 2 to 3 weeks, and sets every post with its own crews at $499 standard, $699 pillar, or $799 extra large per unit, so there is no gap between a delivery date and an installer's calendar.
The motion passes, somebody says "let's have them done before season," and a project that involves a design approval, a build queue, and a couple hundred holes in the ground gets a six week deadline nobody costed. Then week seven arrives, the ARC has met once, the color is still unresolved, and the board is answering emails about why nothing has happened.
None of that is a vendor problem. It is a calendar problem, and it is avoidable, because a community mailbox replacement is one of the more predictable capital projects a board will run. The work is known. The sequence is known. What boards get wrong is which steps overlap, and which ones sit entirely outside the vendor's control.
Here is the honest calendar, week by week, for a community of roughly 100 homes.
The calendar at a glance
Weeks 1 to 2: scope the project, shortlist vendors, request quotes.
Weeks 2 to 3: site walk, verified unit count, existing conditions.
Weeks 3 to 5: design direction, custom color match, mockup.
Weeks 4 to 8: ARC and board review, spec sheet, approval on the record.
Weeks 4 to 9 (parallel): funding, resident notice, address number list.
Weeks 8 to 11: build to order after mockup approval.
Weeks 10 to 12: install scheduling, phase map, locates.
Weeks 12 to 16: phased install, street by street.
Week 16 to 17: punch walk, closeout, approved spec on file.
Roughly four months. A 40 home community can compress that toward 12 weeks. A 300 home community does not take three times as long, because install phases stack and the front half of the schedule is the same regardless of size. What stretches it is almost never the build.
Weeks 1 to 2: scope and quotes
The first two weeks decide the accuracy of everything after them. Most boards start by asking for a price per mailbox, which is the one number that cannot be answered responsibly without the rest of the picture.
What to have ready before the first call
Bring the door count, the governing documents section that covers mailboxes, a photo of the current standard, and an honest note on condition. Are you replacing boxes on sound posts, or are the posts themselves leaning and rotted? Those are different jobs. A vendor that also replaces and resets existing aging posts can handle the mixed case, but it changes the scope and it changes the number.
Also settle, early, who owns the mailbox after install. In many communities the association owns and maintains the standard; in others the homeowner does, with the association setting the look. That single answer determines whether you are running one contract or coordinating a hundred small ones, and it is worth resolving before a vendor quotes.
What a usable quote contains
A quote you can actually take to a board meeting separates the mailbox from the install. Dream Mailboxes prices the line in tiers: entry units around $499, the core range at $899 to $1,499, and statement pieces up to about $3,900. Installation is separate and per unit, at $499 standard, $699 pillar, and $799 extra large. Keeping them separate lets a board move a decision without reopening the whole quote, which happens more than boards expect.
Premium made to order work is not the cheap path, and pretending otherwise wastes everyone's time. What you are buying with it is a program: matched colors, a documented spec, and the ability to order a matching replacement in year four. Our phase by phase cost breakdown walks through where the money lands.
Weeks 2 to 3: the site walk and the real count
The count on the association roster and the count at the curb rarely match. Corner lots with two frontages, homes on a private drive the carrier services differently, a handful of units where a previous owner installed something nonstandard. Every one of those is a decision, and decisions made at install time cost days.
A site walk also surfaces the conditions that drive the install line: irrigation heads and lines near the post locations, sidewalk and curb geometry that affects setback, driveway aprons, and the older posts whose concrete has to come out. Soil matters too. A vendor quoting your community without walking it is quoting an average community, not yours.
Budget a week for the walk and a week for the revised numbers to come back. If your property manager can do the walk alongside the vendor, that week is well spent, because they are the person who will field the resident calls later.
41 to 45 inThe height USPS expects from the road surface to the bottom of a curbside box, with the face set 6 to 8 inches back from the curb. Every unit in the community has to land inside that window, which is a measurement discipline question, not a design question.
Source: USPS Mailbox Guidelines
Worth saying plainly, because it trips up boards every year: USPS placement rules and your architectural standard are two separate requirements, and both have to be met. The ARC governs material, color, number style, and post design. USPS governs where the box sits relative to the road. A design can sail through architectural review and still be installed out of spec, and a perfectly placed box can still violate your own standard. Whoever sets the posts needs to own both, in writing.
Weeks 3 to 5: design direction and the mockup
This is where a custom program differs from buying off a shelf, and where boards either save a month or lose one.
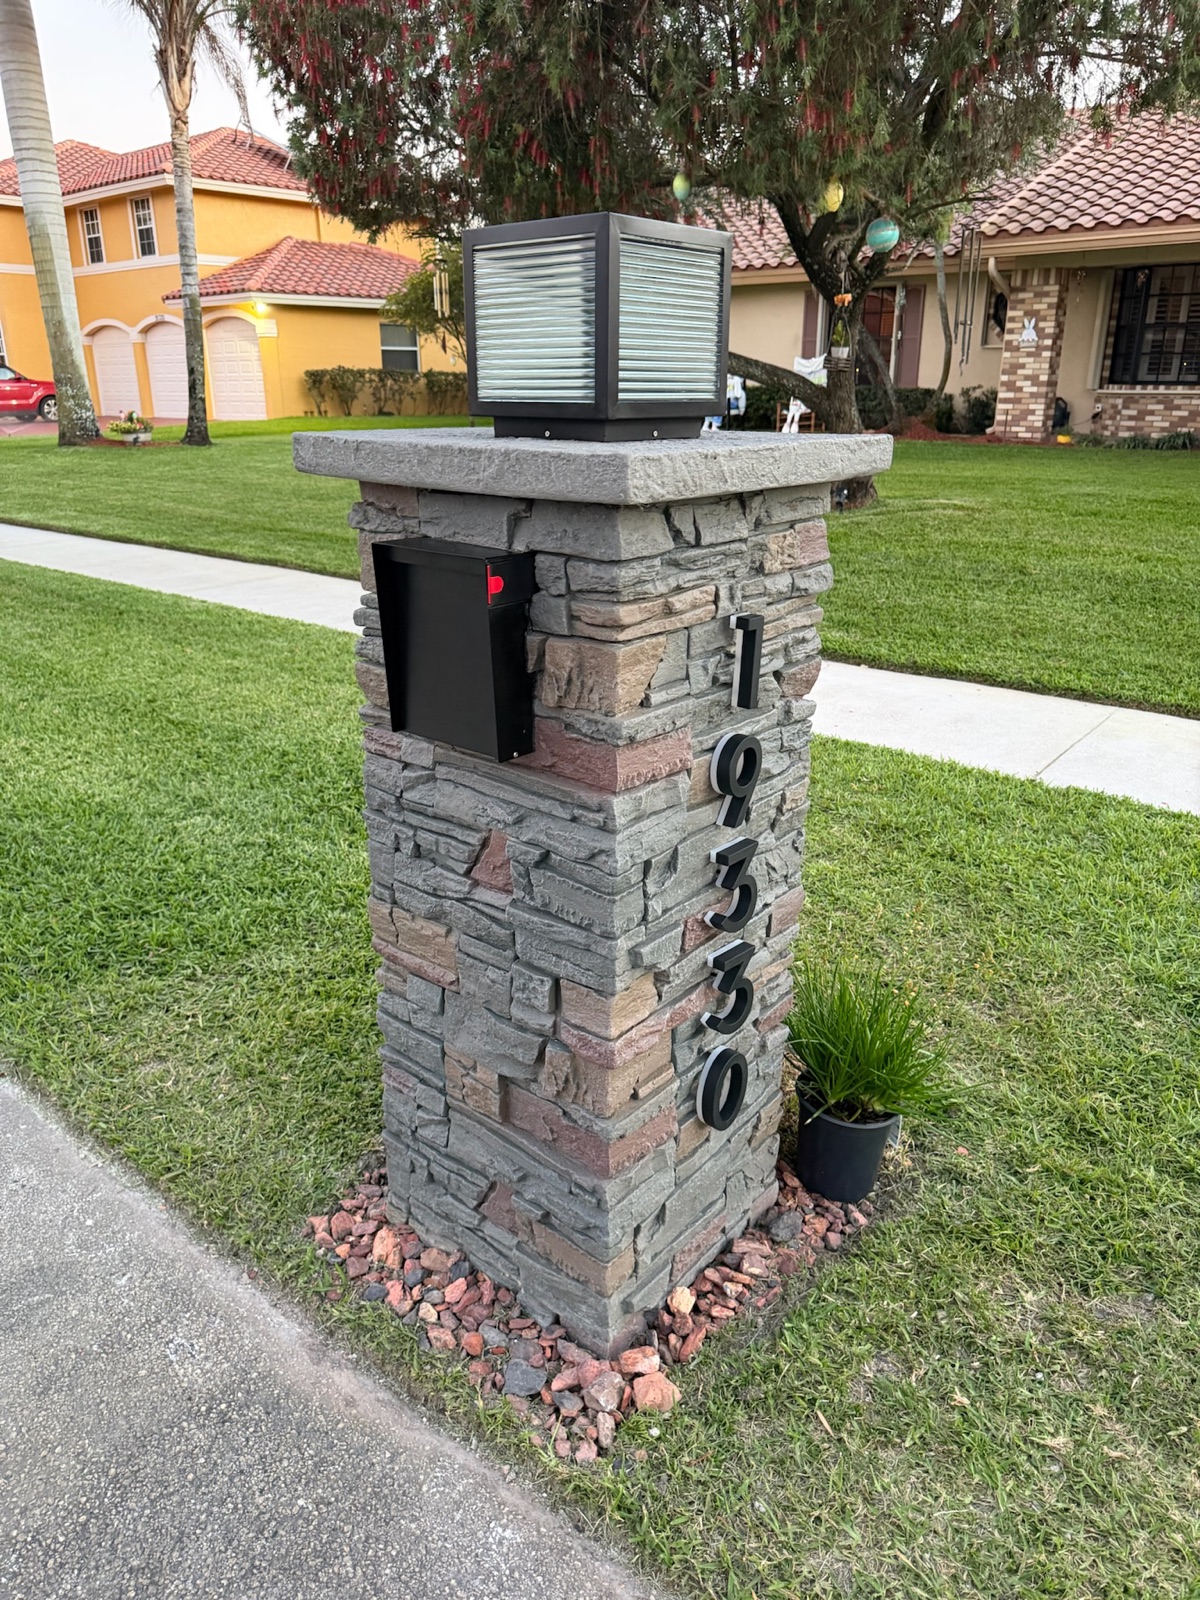
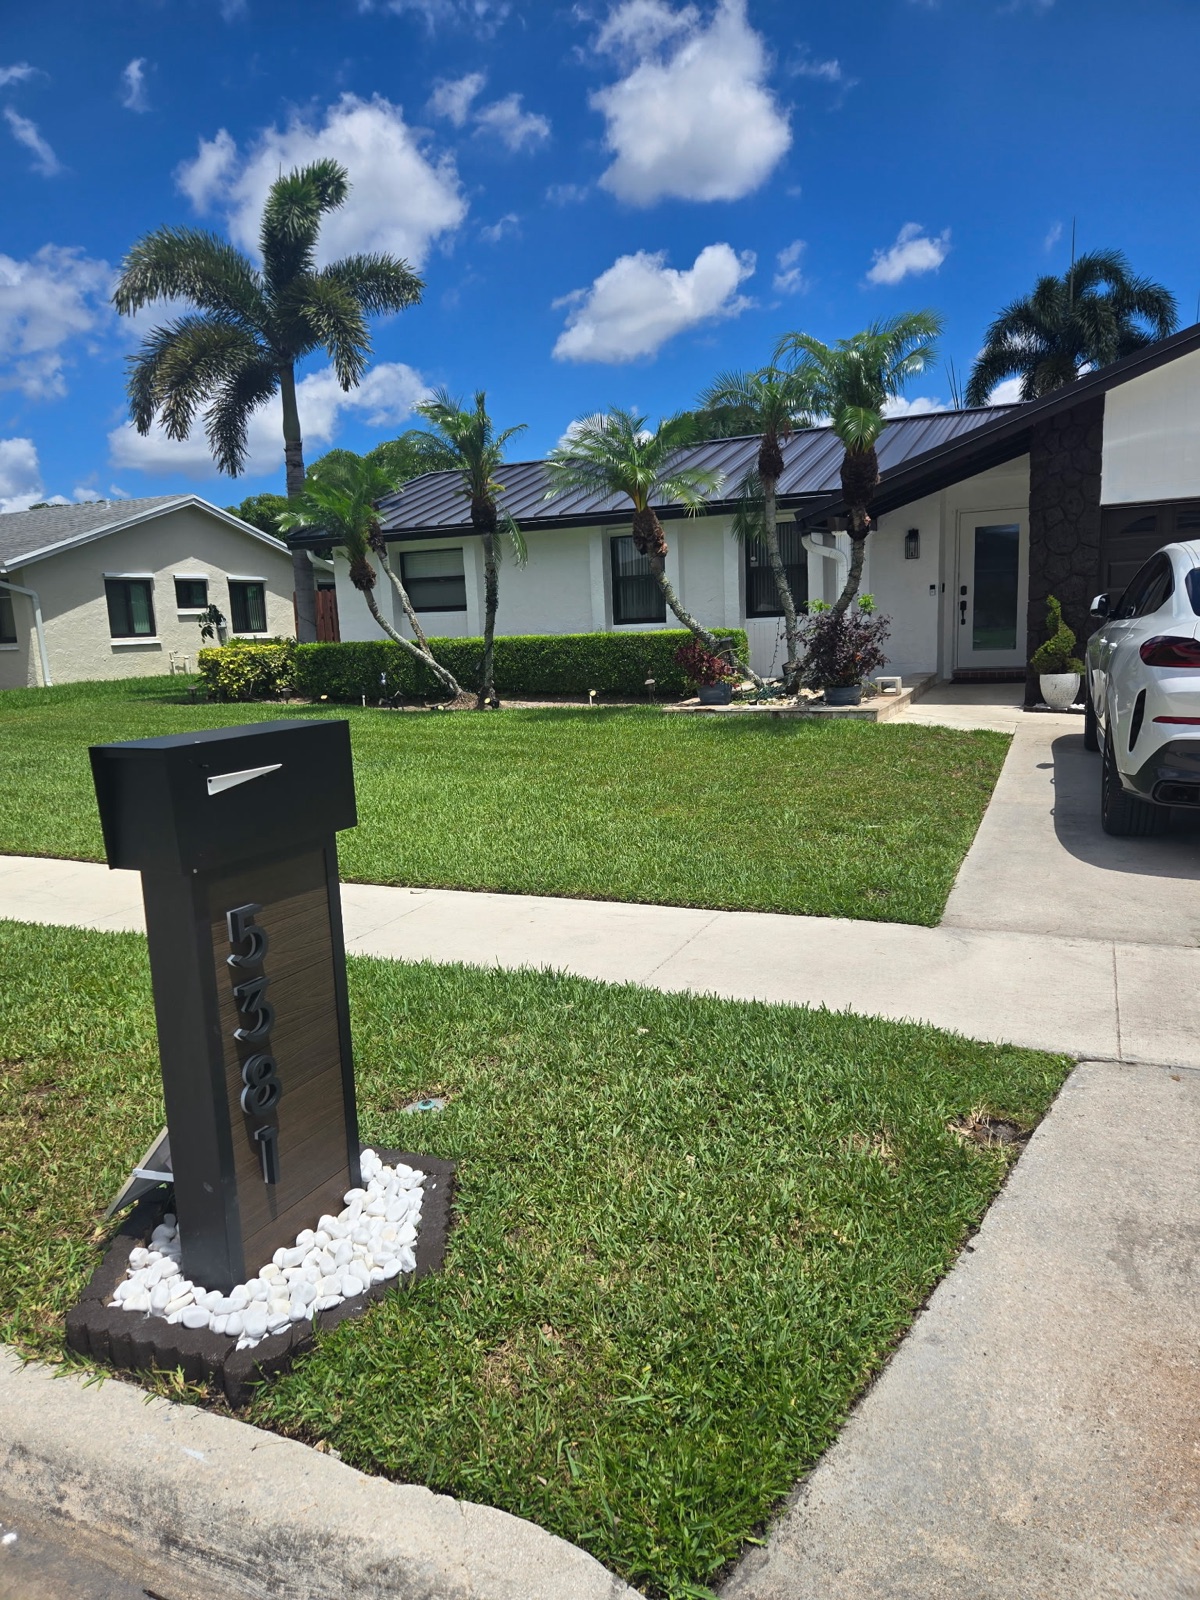
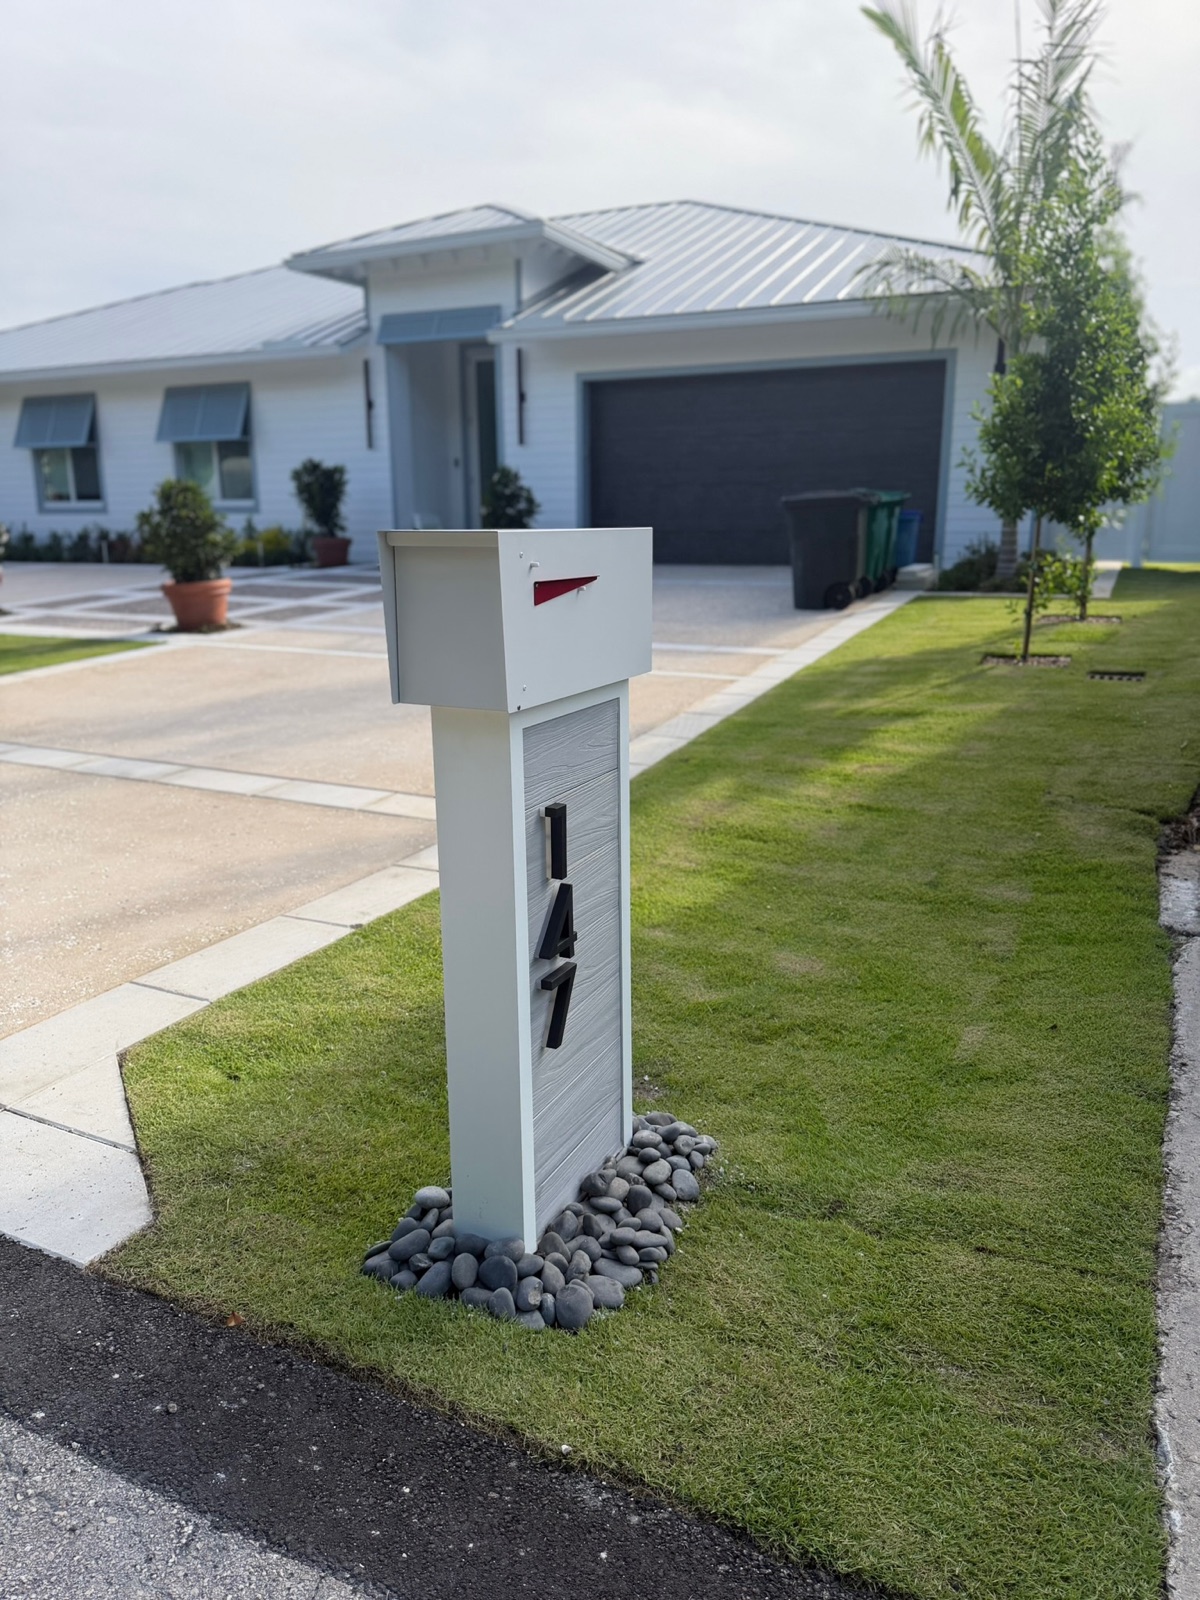
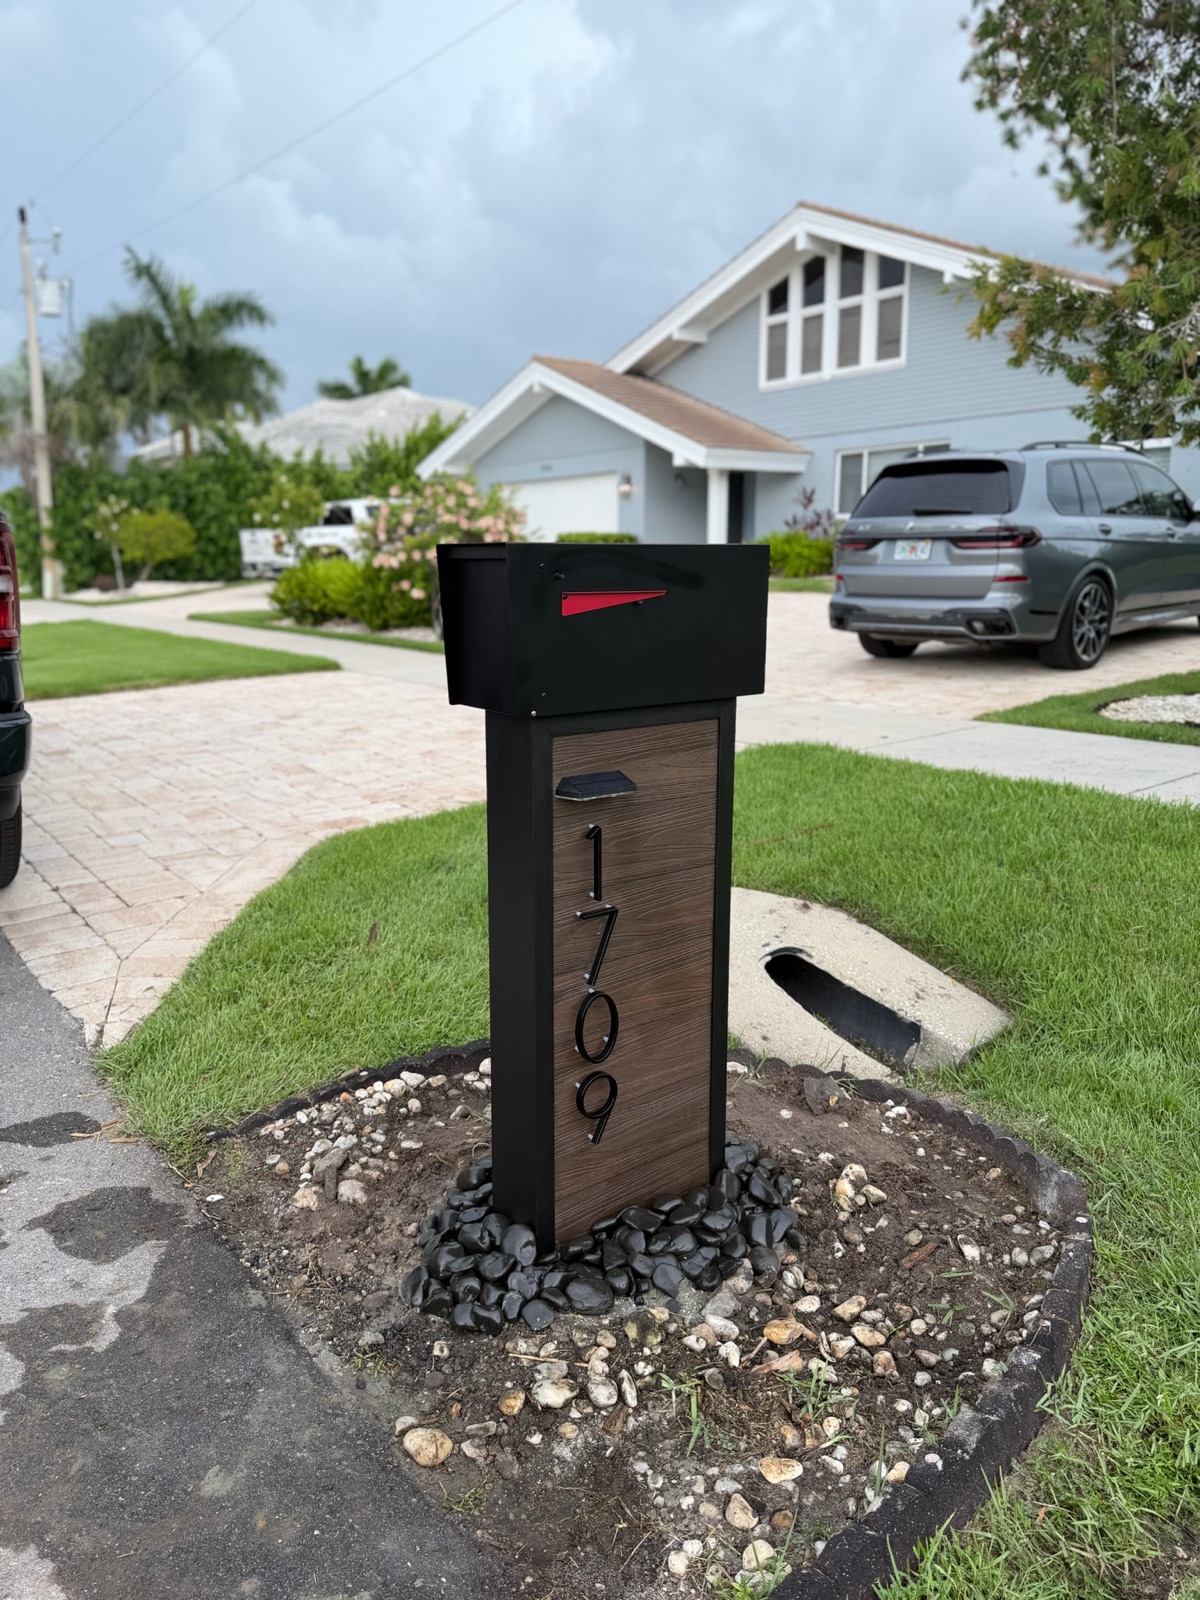
The work here is narrowing. Material first: powder coated aluminum will not rust, composite will not rot, warp, or fade, faux stone and marble pillars carry weight and presence, Metaline steel is built for HOA standards, and cedar or IPE reads warmer against landscape. Then color, matched to your existing palette rather than picked from a catalog, which is the whole reason custom exists for a community with an established look. Then numbers, 5 to 12 inches, sized to the distance a driver actually reads them from.
Then a mockup, and nothing gets built until the board approves it. That approval step is not a formality. It is the document that ends the "that is not what we voted on" conversation at the reveal, and it is the thing your ARC can review against a real image instead of a description.
Two weeks is a fair allowance. It goes long when the board has not agreed internally on direction and is using the vendor to run its debate. Settle the direction in one meeting, then let the mockup confirm it.
Weeks 4 to 8: architectural review, the step nobody budgets honestly
If this project slips, it slips here. Not because review is slow in itself, but because ARC calendars are fixed and project calendars are not.
Most committees meet monthly. If your mockup is ready three days after the meeting, you wait twenty seven days for the next one. If that meeting produces a question rather than an approval, you wait another month for the answer. Two review cycles is eight weeks of calendar for perhaps ninety minutes of actual deliberation, and it is the single most common reason a "before season" project lands after it.
How to compress it
Submit a complete package the first time. That means the mockup, a spec sheet with materials, finish, dimensions, and mounting detail, the install method, and the USPS placement note. Dream Mailboxes provides spec sheets written for board and ARC approval for exactly this reason. A committee that has to ask what the post is made of will table the item, and tabling costs a month.
Two other moves help. Get the mockup in front of the ARC chair informally before the meeting so surprises surface early, and put the approval language in the motion itself, naming the spec sheet by date, so the record is unambiguous later.
If your governing documents require owner notice or a vote for a change of this kind, read that clause in week one, not week six. It carries its own timeline and it does not compress.
Weeks 4 to 9, in parallel: funding, notice, and the number list
These three tracks run alongside review and build. Boards that treat them as sequential add a month to the project for no reason.
Funding. Whether the program comes from reserves, an assessment, or the operating budget, the approval path has its own meeting cadence. Start it the week the direction is settled, not the week the boxes are ready.
Resident notice. People need to know what is changing, when their street is affected, and what happens to mail on install day. Two notices work better than one: an announcement when the design is approved, and a street specific notice roughly a week before each phase. Our guide to scheduling a community install without disrupting residents covers the sequencing in detail.
The address number list. This is the quiet critical path, and it is the step boards underestimate second most. Every unit needs a verified house number, and the association roster is not a reliable source. Numbers get transposed, units on corners carry a different street name than the roster shows, and a single wrong number means a return trip after install. Have the property manager verify the list against the curb, sign it, and hand it over before build starts. It takes a week of tedious work and saves a week of callbacks.
Weeks 8 to 11: build
Standard builds run about 2 to 3 weeks from approved mockup. LED and vault models run longer, so if your design includes either, confirm the added time before it goes in the motion rather than after.
Made to order is the tradeoff here and it should be stated honestly. Nothing ships from a shelf. In exchange you get color matched units, your number style, and a spec kept on file so a replacement ordered years from now still matches the run. For a community, that filing matters more than the original build does. Standards outlive boards, and the fourth mailbox knocked down by a delivery truck is where a program either holds together or quietly drifts.
Nothing is required of the board during these weeks, which is exactly why the parallel tracks above should be finished inside them.
$499 / $699 / $799Per unit install pricing for standard, pillar, and extra large units. Each post is set in concrete roughly 2 feet deep over a 4-inch footer and finished with a decorative rock bed, which is the part that keeps a hundred posts plumb after a few seasons.
Source: Dream Mailboxes professional installation
Weeks 10 to 12: scheduling the install
Scheduling overlaps the tail of the build. The deliverable is a phase map: which streets go on which days, in what order, with a buffer.
Three things belong in it. Utility locates, which have their own lead time in most jurisdictions and are not optional when you are digging a hundred holes. Weather contingency, which in South Florida means planning around the rainy season rather than hoping through it. And access, meaning parked cars, landscaping crew days, and any street your maintenance contractor is already scheduled on.
Ask for a written daily set rate and build the phase map from it. Pace depends on soil, on access, and heavily on how many existing posts have to be demolished and hauled, which is slower work than setting a new one. A vendor who will not commit to a rate has not thought about your site.
Weeks 12 to 16: phased install
Phasing is what makes this tolerable for residents. A street at a time means a household is without a mailbox for part of one day, not for the duration of the project. It also means the crew can correct something learned on the first street before it repeats across the whole community.
On any given unit the sequence is short: the old post comes out along with its concrete, the hole is dug, a 4-inch footer goes in, the post is set in concrete about 2 feet deep, the box is placed to the 41 to 45 inch height and 6 to 8 inch setback while the mix is still workable, and the base is finished with a decorative rock bed. The finish detail matters more across a hundred units than it does on one house, because a raw concrete collar repeated down a street reads as unfinished work no matter how good the box is.
Build a rework week into the schedule. Not because rework is expected, but because a driveway that turns out to be poured over an irrigation line, or three units where the setback needs adjusting, should not push the completion date. The board that schedules a completion date with zero slack is the board that ends up explaining a delay.
Weeks 16 to 17: closeout
Walk the community with the vendor. Check heights with a tape on a sample rather than by eye, confirm numbers against the verified list, and look at the rock beds. Log anything open and set a return date.
Then file three things where the next board will find them: the approved spec sheet, the final unit count and street map, and the warranty terms, which run one year. That file is the difference between a standard and a suggestion. Boards turn over; the file does not.
Which steps actually run in parallel
The sequence has exactly two hard dependencies. Nothing gets built until the mockup is approved, and nothing gets installed until it is built. Everything else can overlap.
Funding approval, resident notice drafting, and number verification all run alongside ARC review and build.
Utility locates can be requested while units are still in production.
The phase map can be drafted during build and confirmed at delivery.
Existing post removal can be phased ahead of setting where conditions allow, which flattens install day.
Run those in parallel and a 17 week project becomes a 14 week one. Run them in sequence and a 14 week project becomes 20.
The three steps boards underestimate
In order of how much calendar they cost.
1. Architectural review cadence. Not the review, the cadence. A monthly committee plus one round of questions is eight weeks. Plan for two cycles and be pleased when one is enough. Submit complete.
2. The address number list. A tedious, unglamorous week of verification that, skipped, becomes a return trip and a set of resident complaints that land on the property manager. Nobody puts it on the schedule. Put it on the schedule.
3. Internal decision making. Color, number style, whether corner lots get the same unit, what happens at the two homes that already installed something nonstandard. These are board decisions, not vendor decisions, and a vendor cannot compress them. Name a single decision owner before the project starts and give them authority to settle the small ones.
The fourth, for communities that start in late spring, is seasonality. Rainy season and holiday delivery volume both affect install windows. It is not a reason to delay, it is a reason to say so in the schedule.
One vendor, or a supplier plus an installer
The structure of the contract is a schedule decision more than a price decision. A ship only supplier hands you boxes and a separate problem: finding someone willing and qualified to set a hundred non standard posts to a measured spec. That gap is where weeks disappear, because the installer's availability has nothing to do with the delivery date, and neither party owns the result.
A local handyman doing both is faster to book and harder to hold to a standard across a hundred units. There is no spec sheet, no mockup, no file for the next board, and no single warranty.
The reason to use a design, build, and install vendor on a community program is that approval, production, and placement sit on one schedule and under one warranty. Dream Mailboxes designs the units, builds them in the USA, sets them with its own crews, and keeps the approved spec on file for the replacement you will need in year four.
Ship-only supplier plus separate installer
Local handyman, boxes and setting
What we recommendDream Mailboxes design, build, install
ARC submission package
Board assembles it from catalog pages
Usually nothing formal to submit
Spec sheet prepared for board and ARC approval
Design sign off
Catalog image, no mockup
Verbal description
Mockup approved before anything is built
Color match to community palette
Stock finishes only
Field painted, varies by unit
Custom color matched to the existing palette
Schedule risk
Delivery date and installer availability are unrelated
Single crew, competing jobs
Build and install on one schedule
USPS placement accountability
Split between two contracts
Depends who held the tape
Set to 41 to 45 in high, 6 to 8 in back, by the maker
Post footing
Whatever the installer quotes
Often shallow or dirt set
About 2 ft deep in concrete over a 4-in footer, rock bed finish
Year four replacement match
Reorder and hope the finish still matches
No record kept
Approved spec kept on file so it matches
Warranty
Split across two vendors
Informal
One 1-year warranty on the whole program
"The build is almost never what makes a community project late. It is the month a board loses waiting for the next architectural meeting, and the week nobody scheduled for verifying house numbers."
Dream Mailboxes team
Install is phased street by street, so a household is without a mailbox for part of one day rather than for the length of the project.
Our board voted to replace every mailbox in the community. How do we find a company that handles the whole project?
Look for a vendor that designs, builds, and installs, rather than a supplier who ships boxes and leaves the setting to whoever you can hire. Dream Mailboxes does all three from one contract, provides the spec sheet your ARC needs for approval, builds to an approved mockup, and sets every post with its own crews. That matters for the calendar as much as for the finish, because there is no gap between a delivery date and an installer's availability, and no second company to blame if a color comes back wrong.
How long does a community mailbox replacement actually take, start to finish?
For a community of roughly 100 homes, plan on 14 to 18 weeks from the first vendor call to the last post set. Quoting and the site walk take 2 to 3 weeks, design and mockup approval another 2, architectural review is the wild card at 2 to 6 weeks depending on how often your ARC meets, build runs 2 to 3 weeks after mockup sign off, and phased install usually spans 2 to 4 weeks. Bigger communities do not take proportionally longer, because install phases stack.
Can the build start while architectural review is still open?
No, and a vendor who says otherwise is taking a risk with your money. Building starts after the mockup is approved, because the mockup is what the ARC approved. What can run in parallel is everything administrative: collecting the verified address number list, drafting resident notices, confirming funding, and scheduling utility locates. Treat those as parallel tracks and you recover two to three weeks.
How many mailboxes get installed in a day?
Ask your vendor for a written daily set rate and hold the schedule to it, because pace depends on soil, access, how many existing posts have to come out, and whether units are standard, pillar, or extra large. Install is phased by street rather than by unit count, so residents lose access for part of one day, not for weeks. Setting the post in concrete about 2 feet deep over a 4-inch footer is the part that governs the pace.
Do we need USPS approval as well as ARC approval?
They are two separate requirements and both have to be met. USPS expects a curbside box with the bottom 41 to 45 inches above the road surface and the face set back 6 to 8 inches from the curb, per its mailbox guidelines and DMM 508. Your architectural standard governs the look: material, color, number style, post design. A design can satisfy the ARC and still be set wrong, which is why placement belongs to the installer, in writing.
Dream Mailboxes Team
Custom mailboxes for communities, designed, built, and installed
We are a family founded, USA made custom mailbox manufacturer headquartered in South Florida, serving communities nationwide. We design the units, build them to an approved mockup, and install them ourselves, so a board runs one contract instead of coordinating a supplier and an installer.


 Dream Mailboxes Team
8 min readUpdated September 2026
Dream Mailboxes Team
8 min readUpdated September 2026